1.2. Téléchargement et Installation du Programme
1.2.1. Downloading and Installing Program
One can download ProjectDB on https://www.projectdb.ru in section Download. Downloading of the file ProjectDB_Setup.zip will start after one click on the link. After the archive is unpacked, one will get file ProjectDB_Setup.exe.
At the moment ProjectDB can be used on the Microsoft Windows operation systems, as well as on OS X and Linux with the help of emulator for Windows, such as, CrossOver software by Codeweavers.
To install the program on Windows:
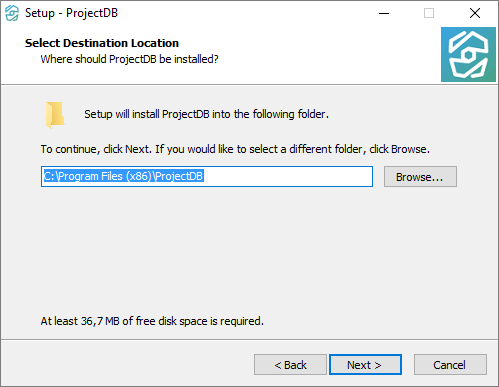
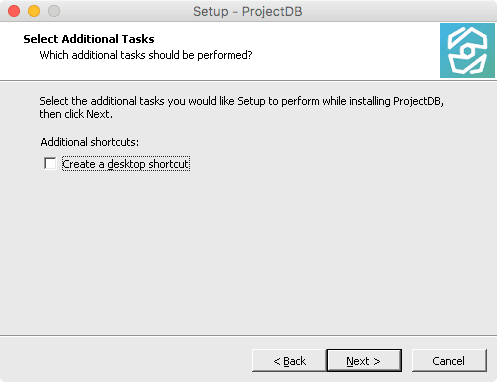
1.2.1.1. Begin the installation process in a standard for the operating system way:
1.2.1.2. On the welcome screen, click Next;
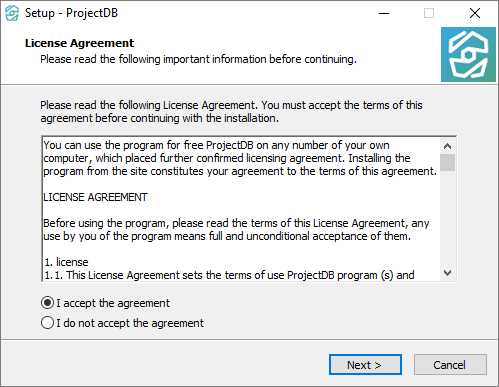
1.2.1.3. Read the license agreement, if you agree to the terms, select the I accept the agreement option button and then click Next;
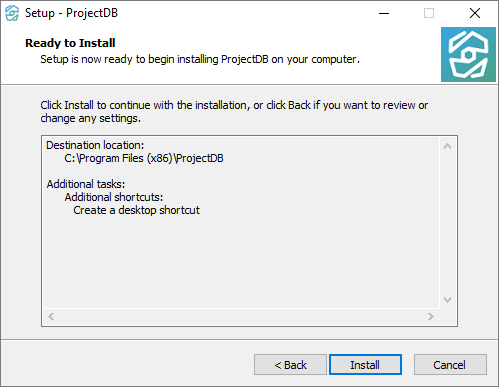
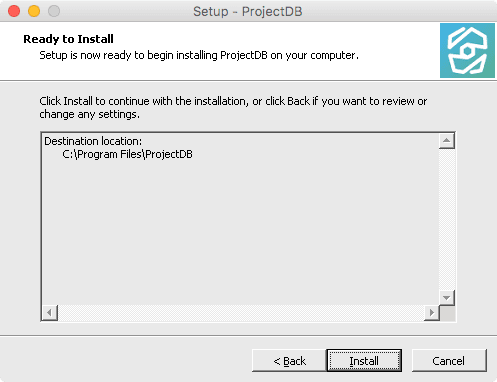
1.2.1.4. Click Install;
1.2.1.5. If a prompt to allow the following program to make changes to the computer appears, click Yes;
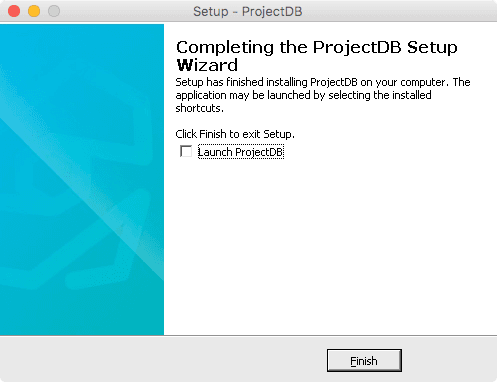
1.2.1.6. After installation is complete, click Finish.
1.2.2. Installing ProjectDB on OS X
To install the program on the OS X operating system using CrossOver:
1.2.2.1. Download and install CrossOver at www.codeweavers.com;
1.2.2.2. Run CrossOver;
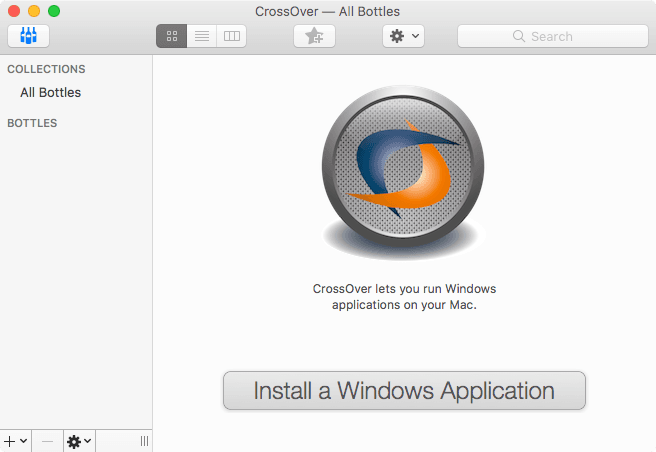
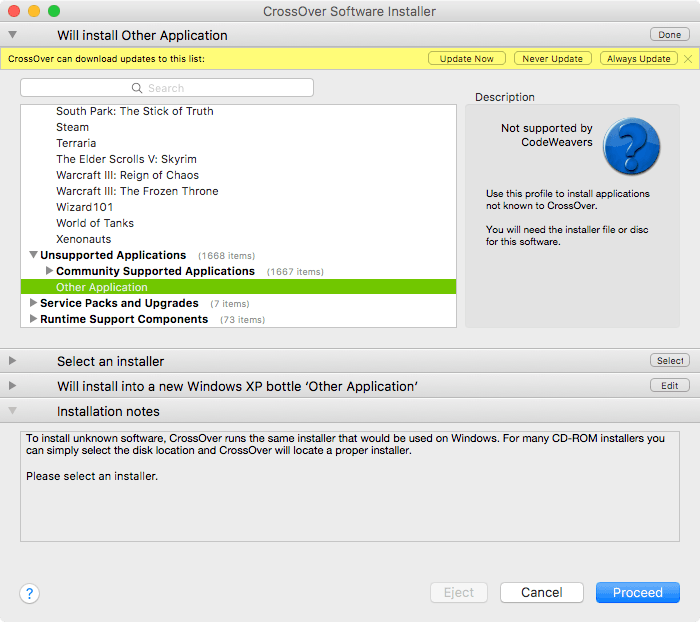
1.2.2.3. In the main window of the program, click Install a Windows Application;
1.2.2.4. In the list of applications in section Unsupported Applications select Other Application;
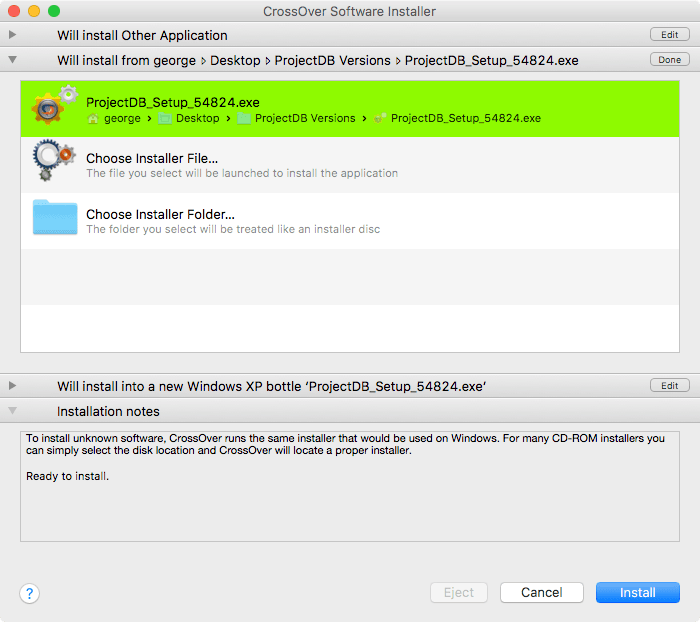
1.2.2.5. In the section Select an installer select Choose Installer File;
1.2.2.6. In the appeared window, specify the path to the installation file ProjectDB_Setup.exe;
1.2.2.7. Click Use this installer;
1.2.2.8. Click Install;
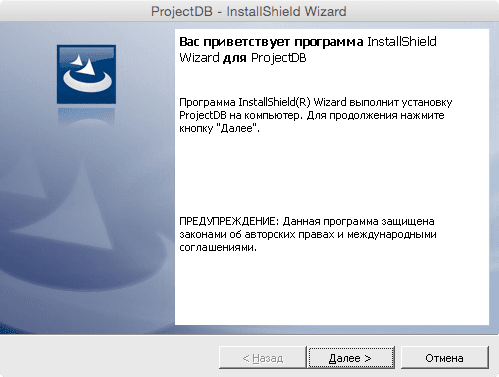
1.2.2.9. In the welcome window, select Next;
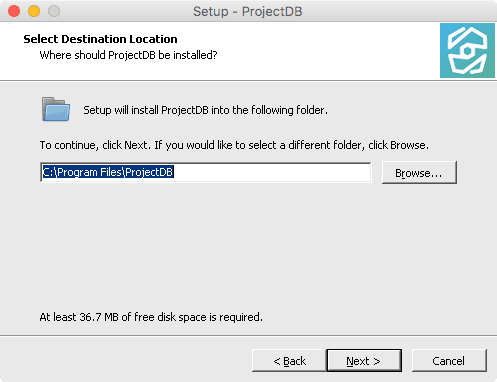
1.2.2.10. Read the license agreement, if you agree to the terms, select the I accept the agreement option button and then click Next;
1.2.2.11. Click Install;
1.2.2.12. After installation is complete, click Finish;
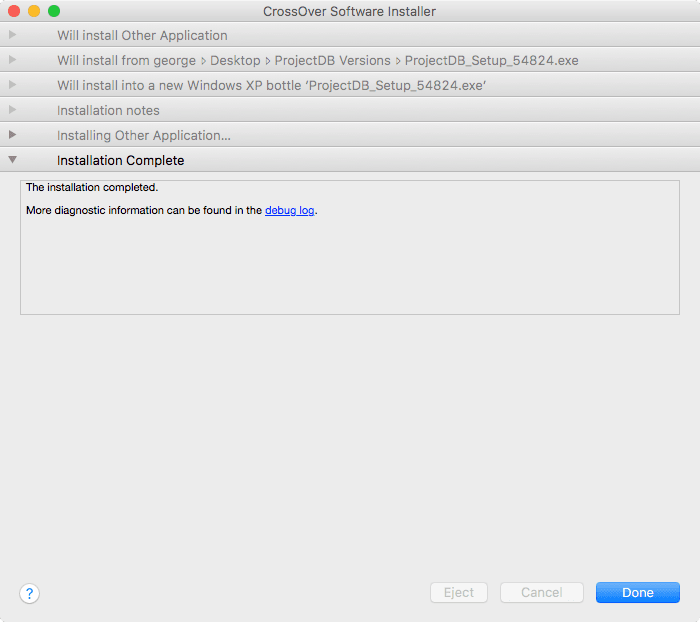
1.2.2.13. After the bottle is created, click Done.
1.2.3. Next

