8.5. Création de l'Action 1213 Téléverser
8.5.1. Creating Action 1213 Upload
To create action 1213 Upload:
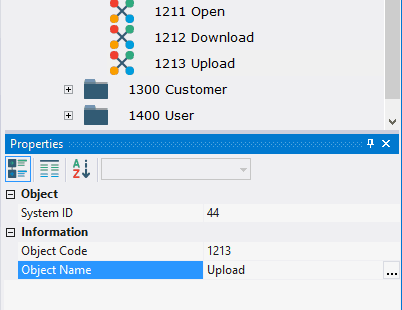
8.5.1.1. Call the context menu of the folder 1200 Comments;
8.5.1.2. Select New Object > Action;
8.5.1.3. In the Properties window, enter 1213 in the Object Code field, enter Upload in the Object Name field.
8.5.1.4. Open object 1213 Upload for modification by double-clicking the left mouse button;
Note: if you want to study action design process in detail, follow the steps 8.5.1.5 - 8.5.1.17. If you already know how to do this, skip the steps 8.5.1.5 - 8.5.1.17 and go to the step 8.5.1.18.
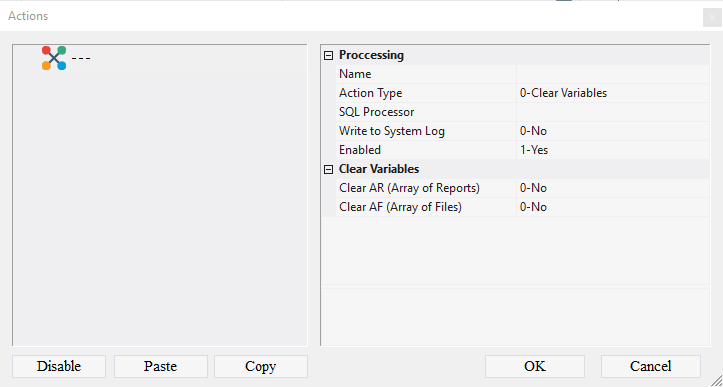
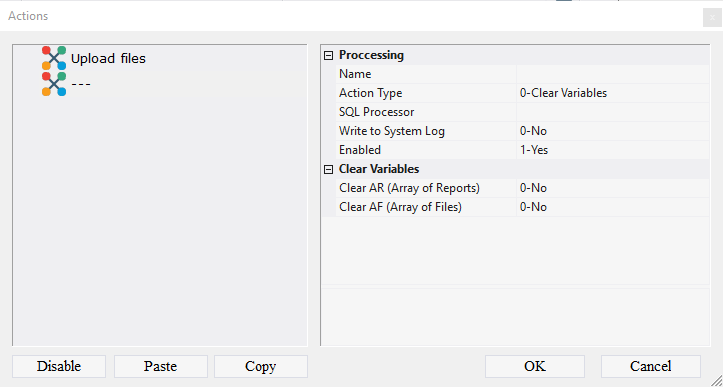
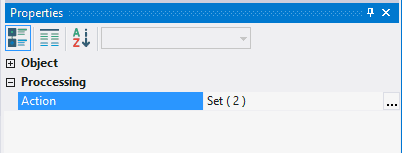
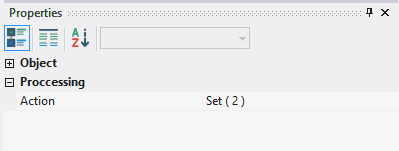
8.5.1.5. In the Action field click the Advanced button;
8.5.1.6. In the appeared window call the context menu;
8.5.1.7. Select the item Add Action;
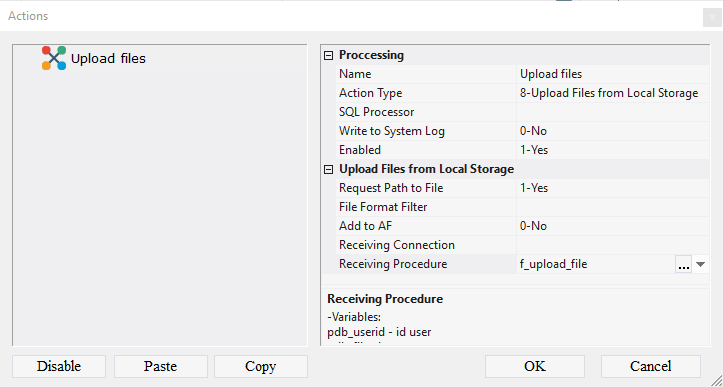
8.5.1.8. In the Name field, enter Upload files;
8.5.1.9. In the Action Type field, select 8-Upload Files from Local Storage from the drop-down list;
8.5.1.10. In the Request Path to File field, specify the value 1-Yes;
8.5.1.11. In the Receiving Procedure field, select f_upload_file from the drop-down list;
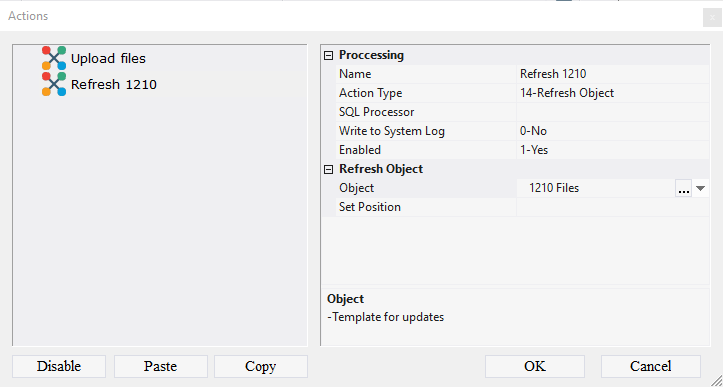
8.5.1.12. Call the context menu;
8.5.1.13. Select the item Add Action;
8.5.1.14. In the Name field enter Refresh 1210;
8.5.1.15. In the Action Type field select 14-Refresh Object;
8.5.1.16. in the Object field, select the object 1210 Files;
8.5.1.17. click the OK button;
Note: If you followed the steps 8.5.1.5 - 8.5.1.17, skip steps 8.5.1.18 - 8.5.1.23 and go to step 8.5.1.24.
8.5.1.18. Download the file archive containing the settings of objects;
8.5.1.19. Extract the files from the downloaded archive;
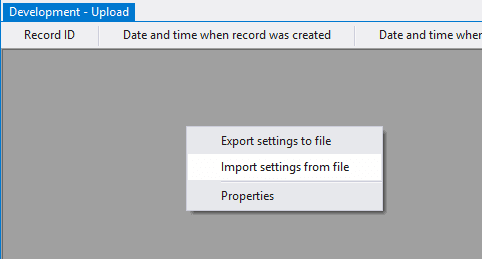
8.5.1.20.Open the context menu by right-clicking in the data area;
8.5.1.21. Select Import settings from the file;
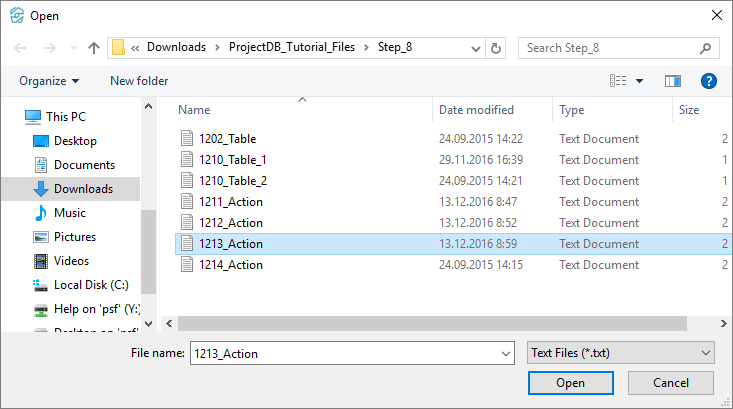
8.5.1.22. In the appeared window specify the path to the file 1213_Action;
8.5.1.23. Click the Open button;
All action settings will be imported.
8.5.1.24. Save the changes by selecting Menu > Save.
8.5.1.25. Close the object by clicking on the corresponding button.
8.5.2. Next
