9.5. Création de l'Action 1005 Nouveau Ticket
9.5.1. Creating Action 1005 New Ticket
After loading new email into the table 1204 Incoming mail one can create an action that allows opening new tickets based on the incoming mail.
To create such an action:
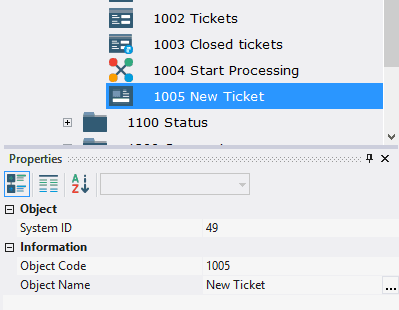
9.5.1.1. Call the context menu of the folder 1000 Tickets;
9.5.1.2. Select New Object > Form;
9.5.1.3. In the Properties window, in the Object Code field enter 1005, in the Object Name field enter New Ticket;
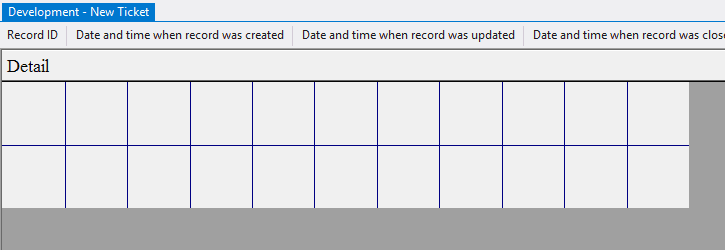
9.5.1.4. Open object 1005 New Ticket for modification by double-clicking the left mouse button;
Note: if you want to study form design process in detail, follow the steps 9.5.1.5 - 9.5.1.67. If you already know how to do this, skip the steps 9.5.1.5 - 9.5.1.67 and go to the step 9.5.1.68.
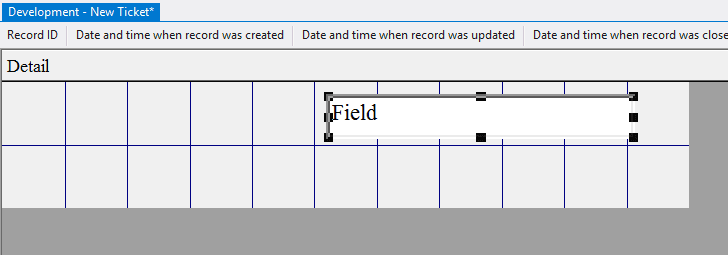
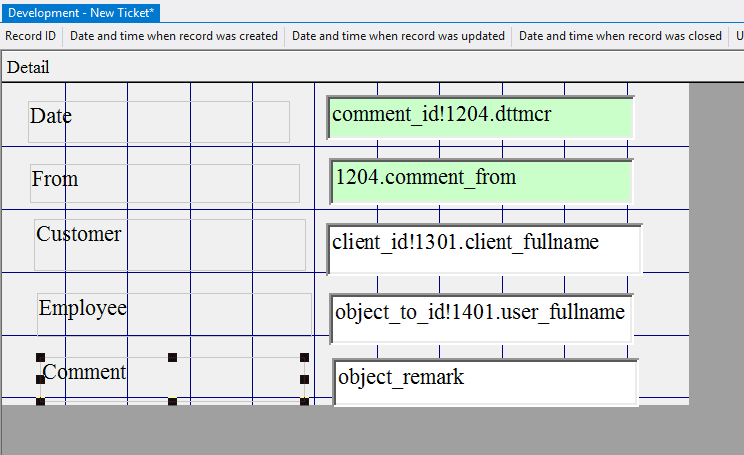
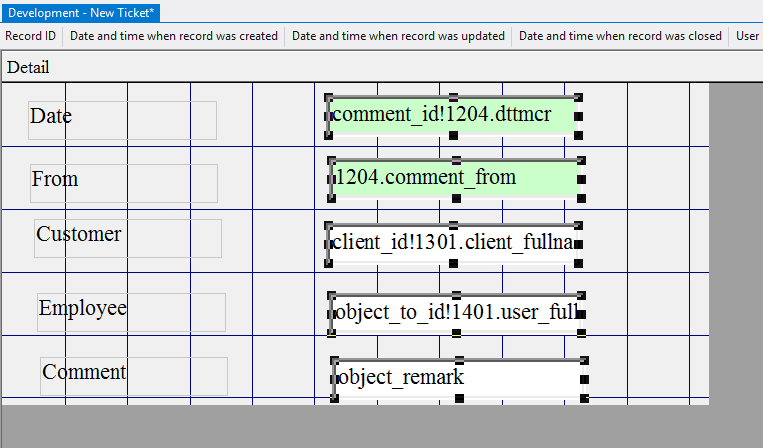
9.5.1.5. Click the left mouse button on the Field button on the toolbar;
9.5.1.6. Move the mouse pointer to the data area;
9.5.1.7. Press the left mouse button and, without releasing it, outline the size of the field;
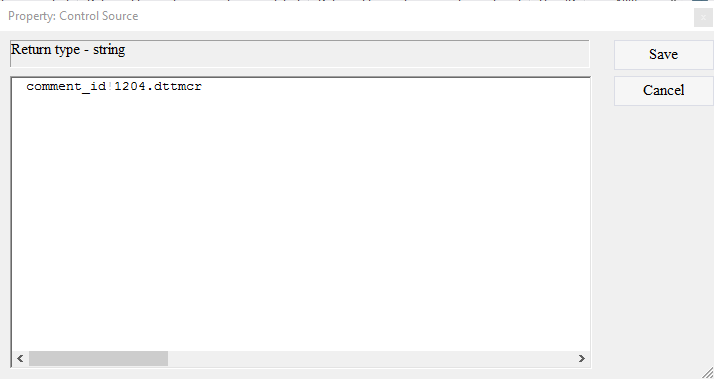
9.5.1.8. In the Control Source field, click the Advanced button;
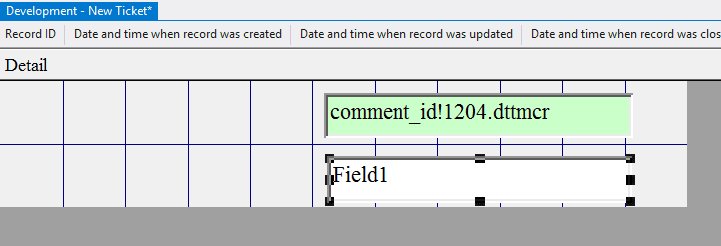
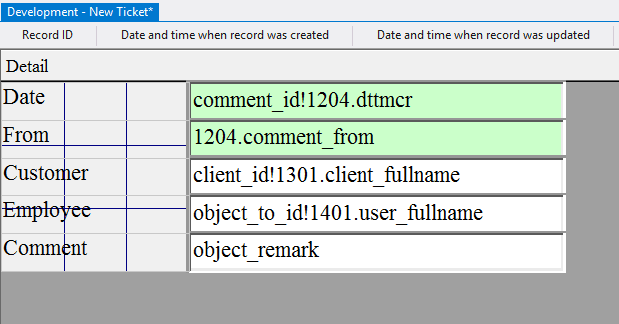
9.5.1.9. In the appeared window enter comment_id!1204.dttmcr (thus the variable comment_id is activated for the subsequent use of this variable in the function);
9.5.1.10. Click the Save button;
9.5.1.11. In the Enabled field, specify the value 0-No;
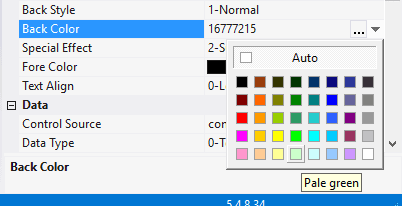
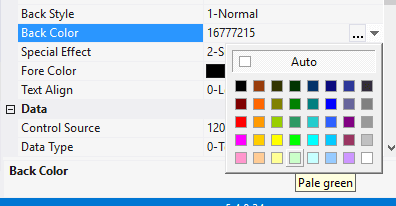
9.5.1.12. In the Back Color field, select the background color;
9.5.1.13. Similarly, add one more field below;
9.5.1.14. In the Control Source field, click the Advanced button;
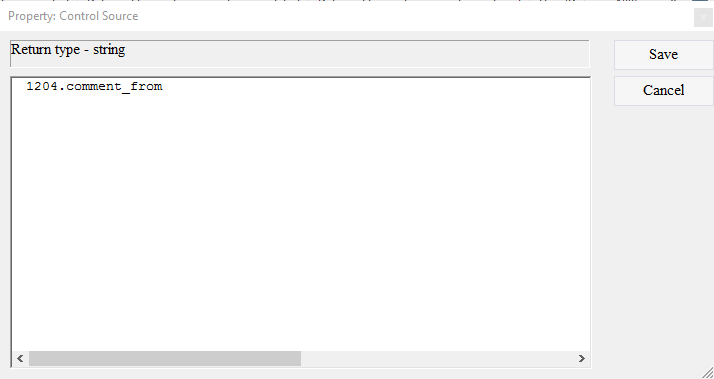
9.5.1.15. In the appeared window enter 1204.comment_from;
9.5.1.16. Click the Save button;
9.5.1.17. In the Enabled field, specify the value 0-No;
9.5.1.18. In the Back Color field, select the background color;
9.5.1.19. Similarly, add one more field below;
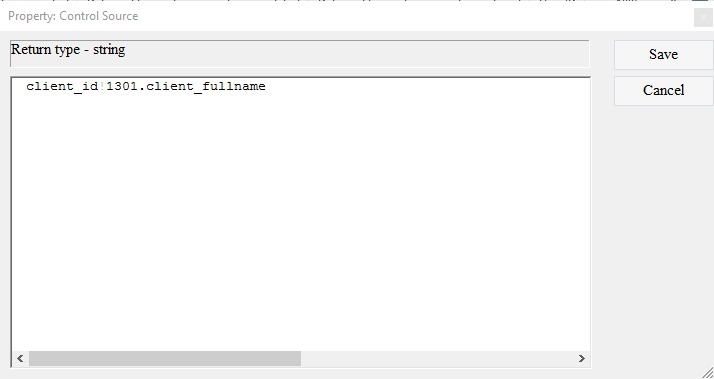
9.5.1.20. In the Control Source field, click the Advanced button;
9.5.1.21. Enter the value client_id!1301.class_fullname;
9.5.1.22. Click the Save button;
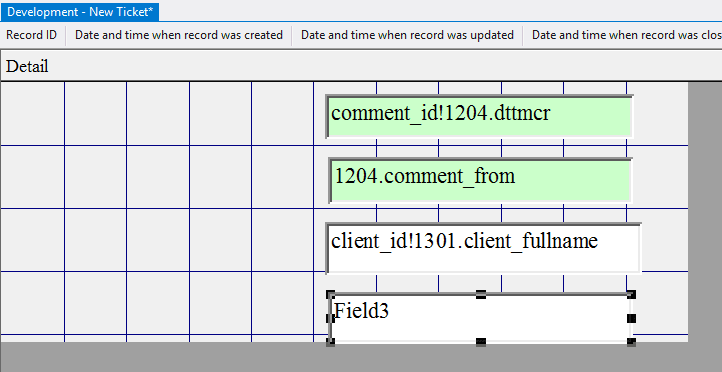
9.5.1.23. Similarly, add one more field below;
9.5.1.24. In the Control Source field, click the Advanced button;
9.5.1.25. In the appeared window enter object_to_id!1401.user_fullname;
9.5.1.26. Click the Save button;
9.5.1.27. Similarly, add one more field below;
9.5.1.28. In the Control Source field enter object_remark;
9.5.1.29. In the Default Value field, click the Advanced button;
9.5.1.30. In the window that opens, enter the value =[1204].[comment_subject];
9.5.1.31. Click the Save button;
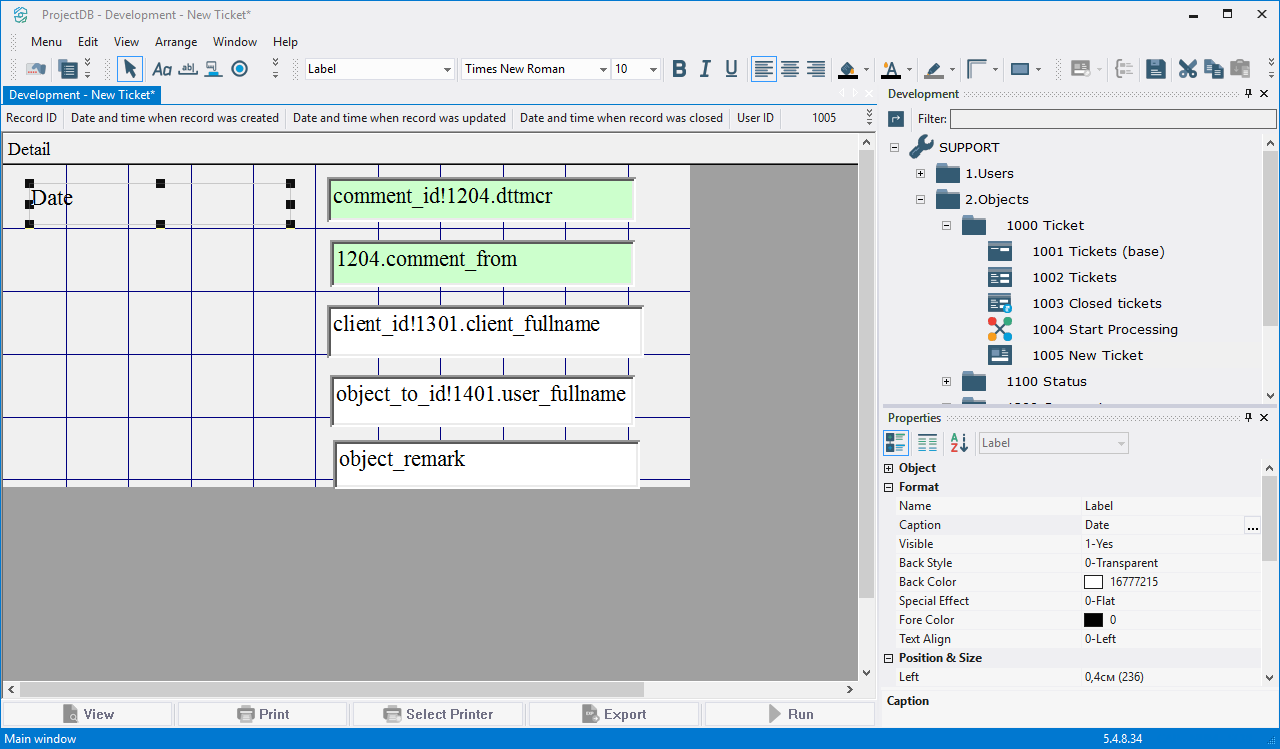
9.5.1.32. Left-click on the Label button on the toolbar;
9.5.1.33. Move the mouse pointer to the data area;
9.5.1.34. Press the left mouse button and, without releasing it, outline the size of label so that the label is left to the top field;
9.5.1.35. In the Caption field enter the Date;
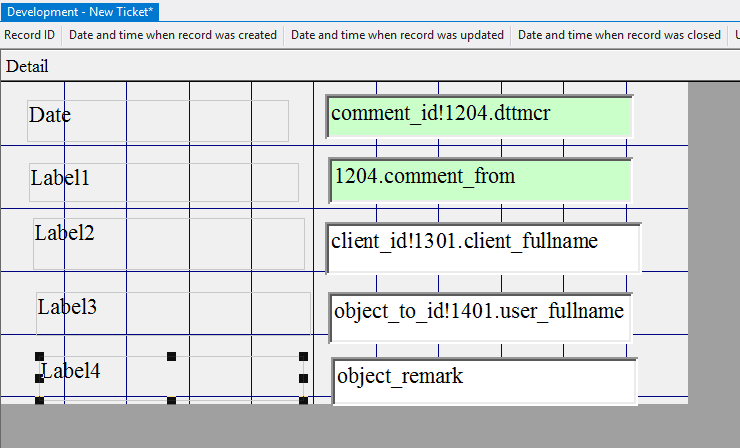
9.5.1.36. Similarly, add four more labels (one to the left of each field);
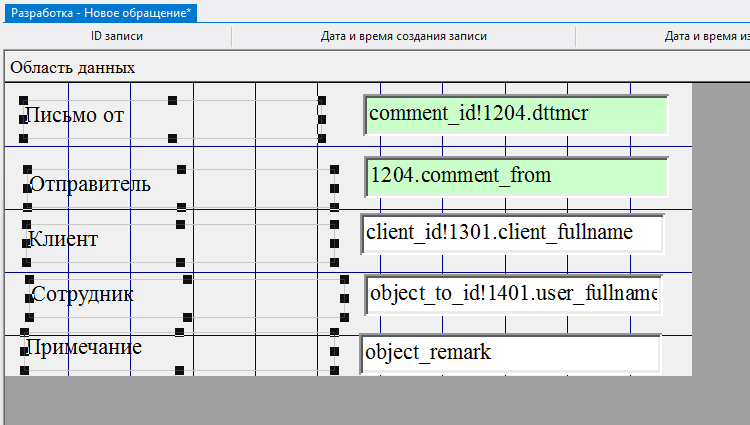
9.5.1.37. In the Caption field of each of the labels enter From, Customer, Employee and Comment, respectively;
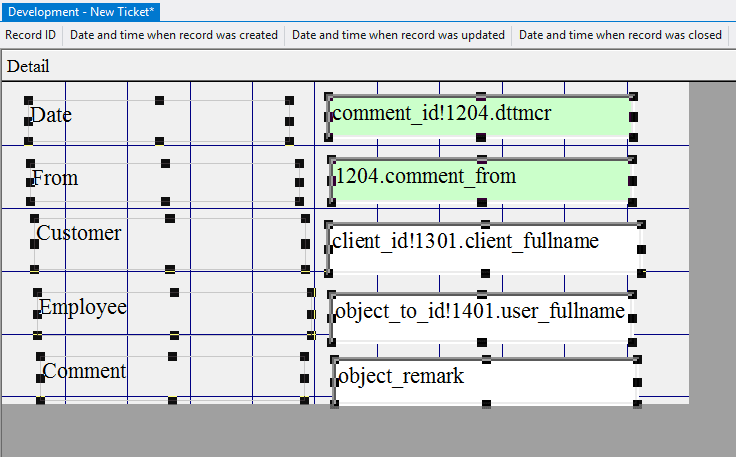
9.5.1.38. Select Edit > Select All;
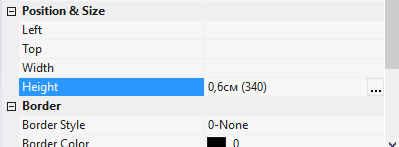
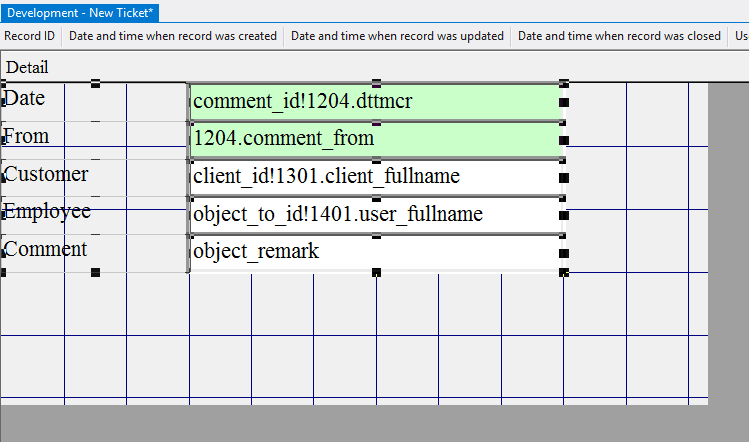
9.5.1.39. In the Height field specify the height of the elements - 0,6; press the Enter key;
9.5.1.40. Select all the labels by clicking the left mouse button and, without releasing it, outlining the area on the screen with the mouse pointer;
9.5.1.41. In the Width field specify the width of the labels - 3; press the Enter key;
9.5.1.42. Select all fields;
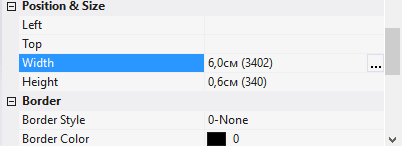
9.5.1.43. In the Width field specify the width of the fields - 6; press the Enter key;
9.5.1.44. Select Edit > Select All;
9.5.1.45. Select Arrange > Align > Top;
9.5.1.46. Select Arrange > Align > Left;
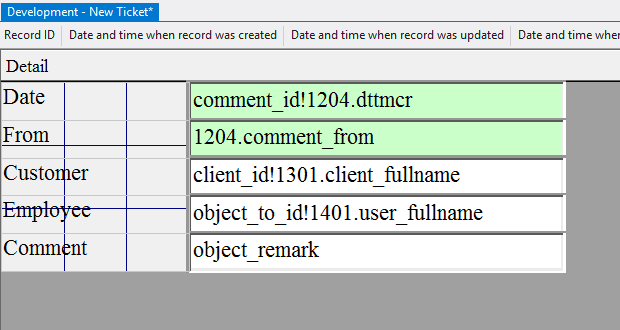
9.5.1.47. Move the mouse pointer over the elements, press the left mouse button and, without releasing it, move all the elements in the upper left corner;
9.5.1.48. Move the mouse pointer to the lower right corner of the data area, press the left mouse button and, without releasing it, reduce the size of the data area to a minimum;
9.5.1.49. Select the field object_remark - this field will occupy the remaining free space when working in the form and store multi-line text, so you should allow the text to scroll vertically by setting the Scroll Bars field to 2-Vertical;
9.5.1.50. Left-click outside the data area;
9.5.1.51. In the Close Form After Running field, set the value to 1-Yes;
9.5.1.52. In the <View> Button field, set the value to 0-No;
9.5.1.54. In the <Run> Button field, set the value to 1-Yes;
9.5.1.55. In the <Run> Button Caption, enter Register;
9.5.1.56. In the <Run> Action field, click the Advanced button;
9.5.1.57. In the appeared window call the context menu;
9.5.1.58. Select Add Action;
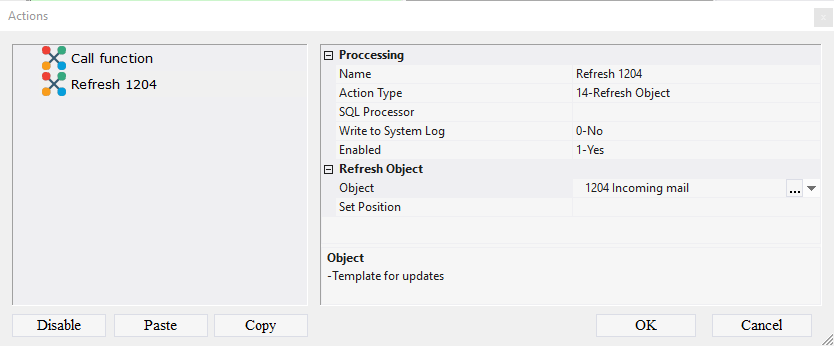
9.5.1.59. In the Name field enter Call function;
9.5.1.60. In the Action type field select 1-Process data;
9.5.1.61. In the Receiving Procedure field, select the procedure f_register_object;
9.5.1.62. Call the context menu;
9.5.1.63. Select Add Action;
9.5.1.64. In the Name field enter Refresh 1204;
9.5.1.65. In the Action Type field select 14-Refresh Object;
9.5.1.66. In the Object field, select the object 1204 Incoming mail;
9.5.1.67. Click OK;
Note: If you followed the steps 9.5.1.5 - 9.5.1.67, skip steps 9.5.1.68 - 9.5.1.73 and go to step 9.5.1.74.
9.5.1.68. Download the file archive containing the settings of objects;
9.5.1.69. Extract the files from the downloaded archive;
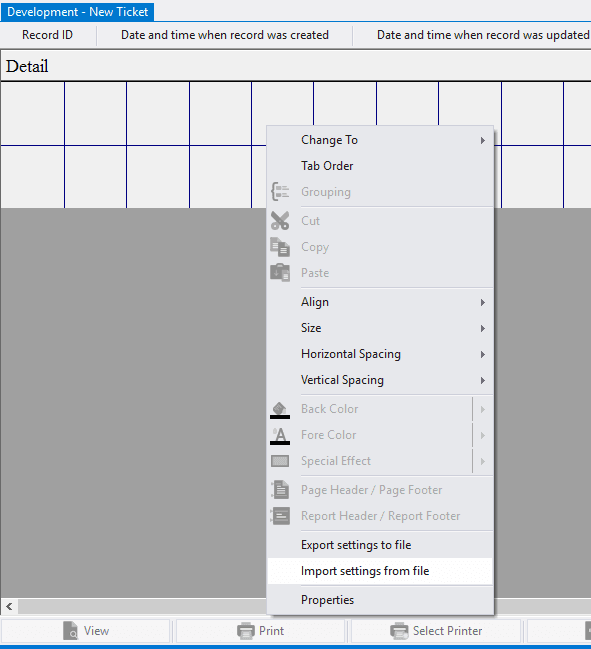
9.5.1.70. Open the context menu by right-clicking in the data area;
9.5.1.71. Select the menu item Import settings from file;
9.5.1.72. In the appeared window, specify the path to the file 1005_Form;
9.5.1.73. Click the Open button;
All settings of the form will be imported.
9.5.1.75. Close the object by clicking on the corresponding button.
9.5.2. Next
