10.2. Création de l'Action 1221 Nouvel Email
10.2.1. Creating Action 1221 New Email
Having the ability to receive incoming messages to the information system, it remains to create actions that allow you to compose new e-mails, reply to incoming e-mails, and forward e-mails.
To create action 1221 New Email:
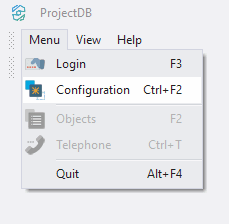
10.2.1.1. Select Menu > Configuration;
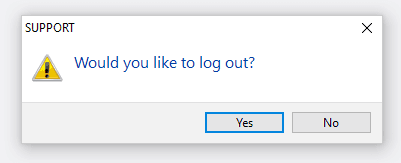
10.2.1.2. In the appeared window, click Yes;
10.2.1.3. In the Configuration window, in the Connection field select the SUPPORT connection;
10.2.1.4. In the Password field enter 1111;
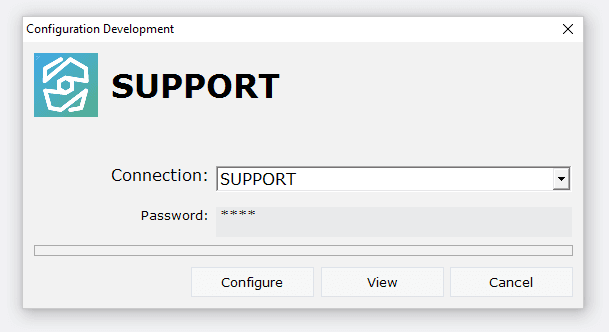
10.2.1.5. Click Configure;
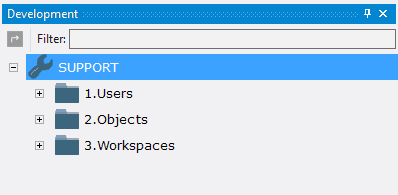
10.2.1.6. Open the folder 2.Objects;
10.2.1.7. Call the context menu of the folder 1200 Comments by right-clicking the mouse;
10.2.1.8. Select New Object > Form;
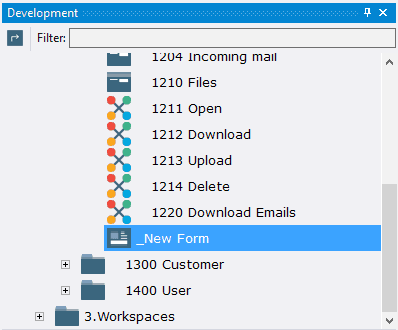
10.2.1.9. In the Properties window, enter 1221 in the Object Code field, enter enter New Email in the Object Name field;
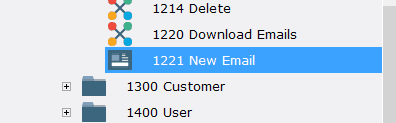
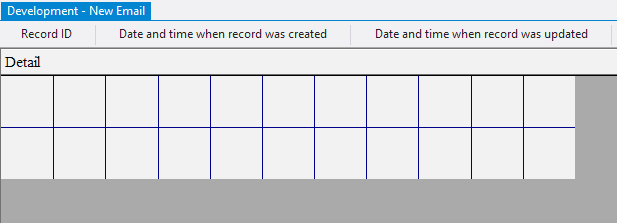
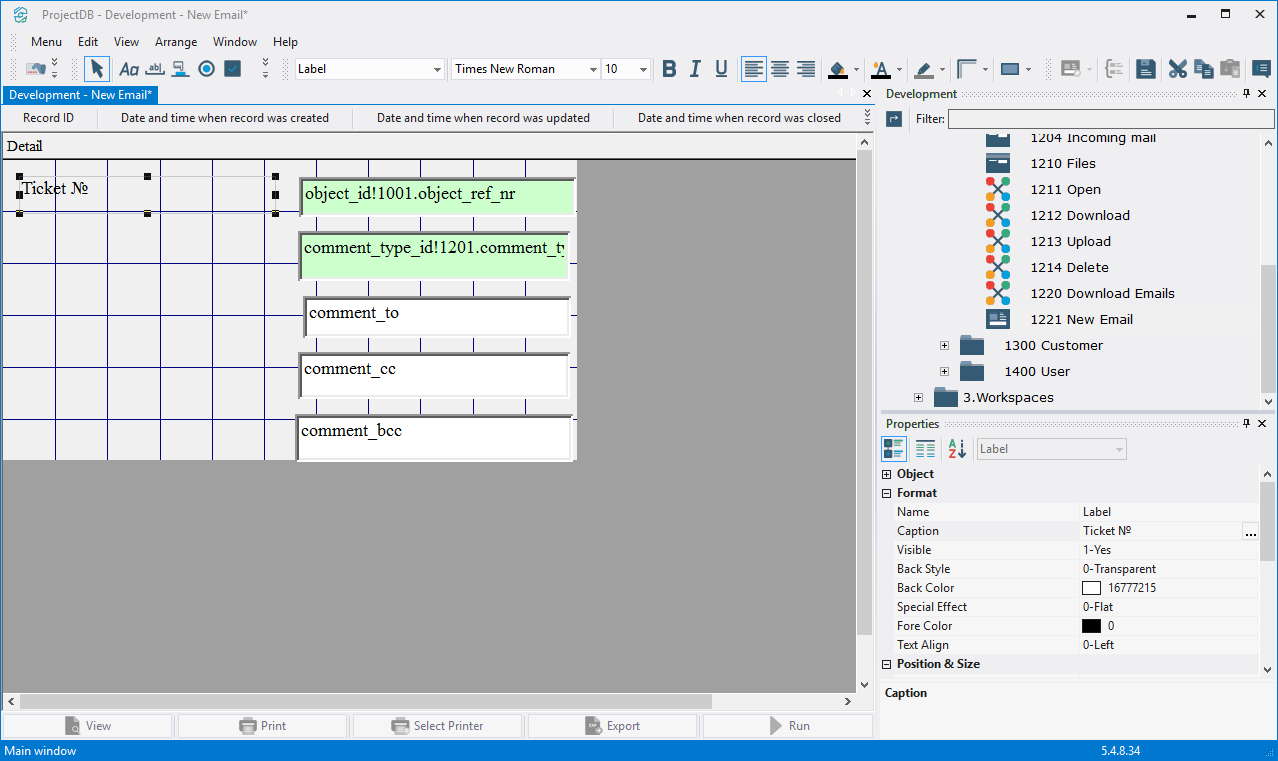
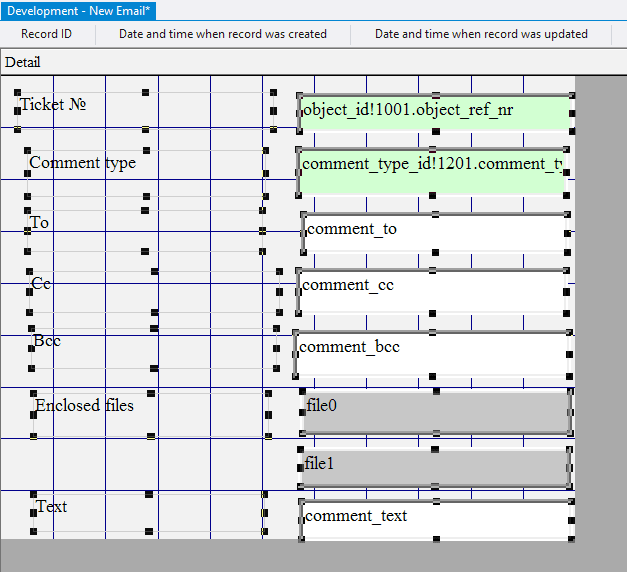
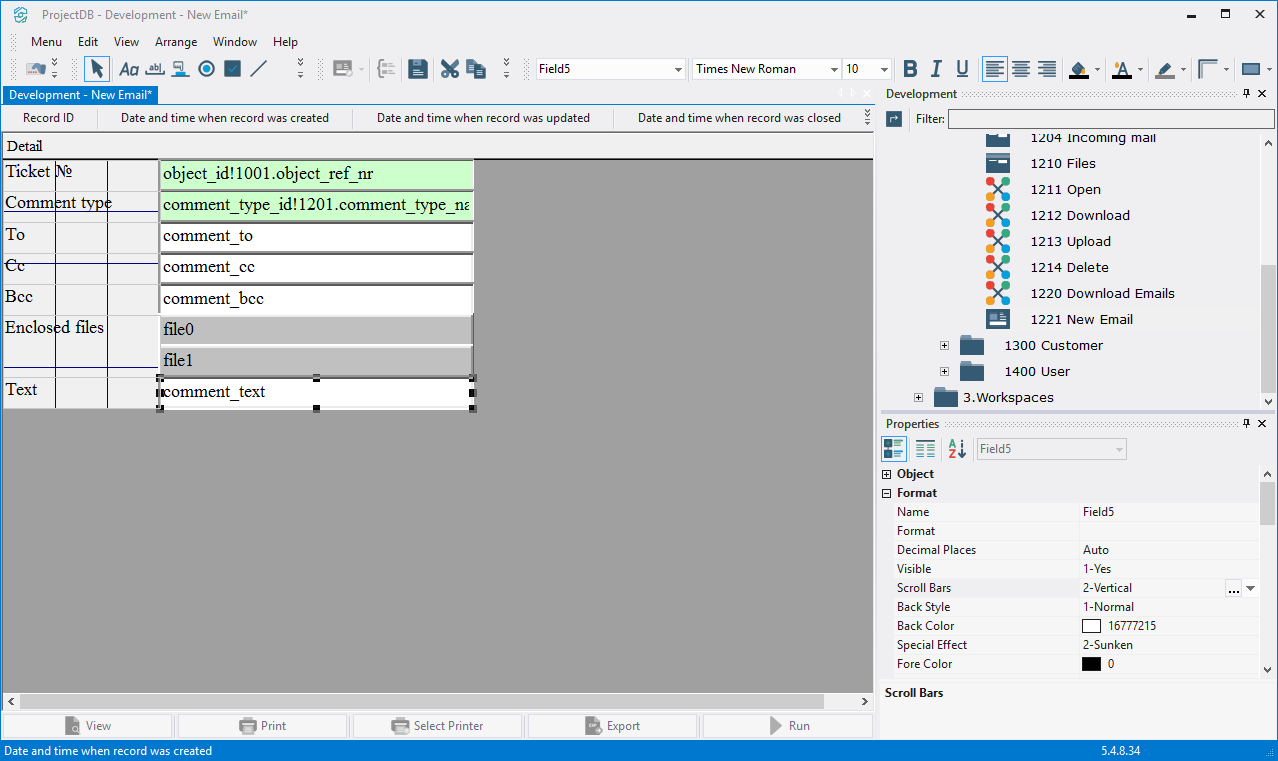
10.2.1.10. Open object 1221 New Email for modification by double-clicking the left mouse button;
Внимание: если Вы хотите изучить механизм настройки формы детально, выполните шаги 10.2.1.11 - 10.2.1.124. Если Вы уже знакомы с тем, как осуществляется настройка формы, пропустите шаги 10.2.1.11 - 10.2.1.124 и перейдите к шагу 10.2.1.125.
10.2.1.11. нажать левой кнопкой мыши по кнопке Поле на панели инструментов;
Note: if you want to study form design process in detail, follow the steps 10.2.1.11 - 10.2.1.124. If you already know how to do this, skip the steps 10.2.1.11 - 10.2.1.124 and go to the step 10.2.1.125.
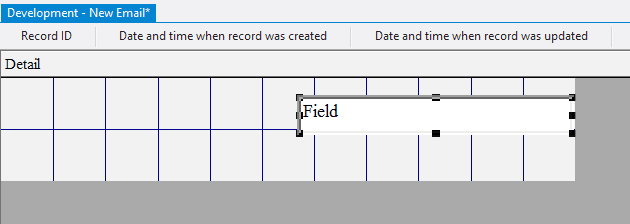
10.2.1.11. Click the left mouse button on the Field button on the toolbar;

10.2.1.12. Move the mouse pointer to the data area;
10.2.1.13. Press the left mouse button and, without releasing it, outline the size of the field;
10.2.1.14. In the Control Source field, click the Advanced button;
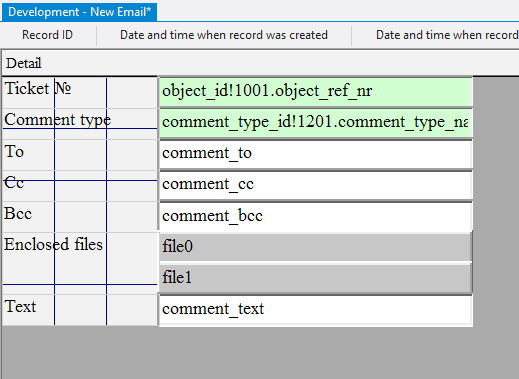
10.2.1.15. In the appeared window enter object_id!1001.object_ref_nr;
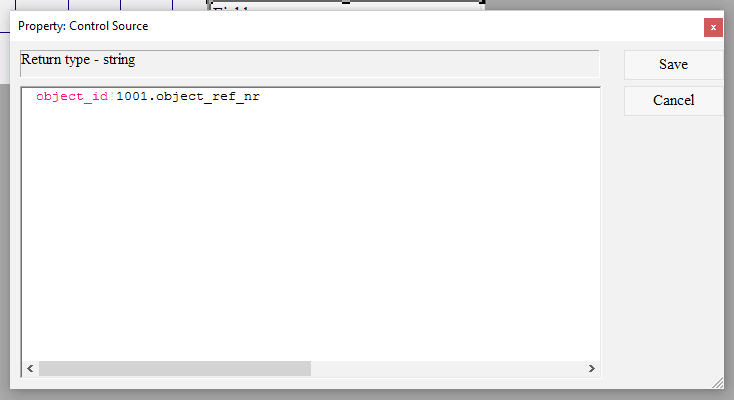
10.2.1.16. Click the Save button;

10.2.1.17. In the Enabled field, specify the value 0-No;

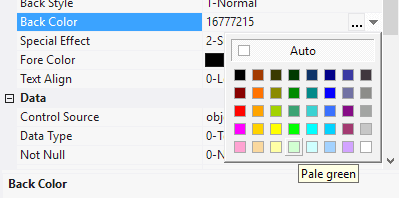
10.2.1.18. In the Back Color field, select the background color;
10.2.1.19. Similarly, add one more field below;

10.2.1.20. In the Control Source field, click the Advanced button;
10.2.1.21. In the appeared window enter comment_type_id!1201.comment_type_name;

10.2.1.22. Click the Save button;

10.2.1.23. In the Default Value field, click the Advanced button;
10.2.1.24. In the appeared window enter =comment_type_name FROM t_comment_types WHERE comment_type_id = 2 - this will automatically set the comment type Outgoing message when the action is run;
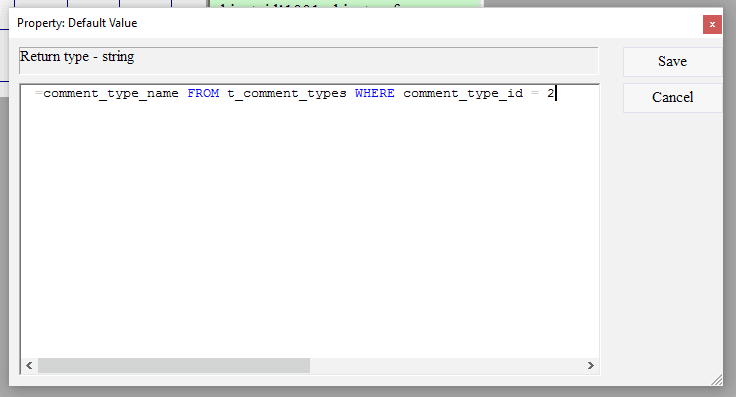
10.2.1.25. Click the Save button;

10.2.1.26. In the Enabled field, specify the value 0-No;

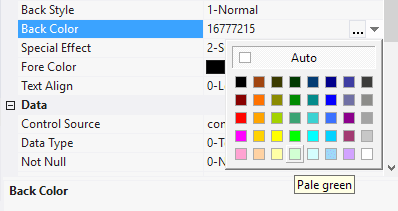
10.2.1.27. In the Back Color field, select the background color;
10.2.1.28. Similarly, add three more fields (each subsequent lower than the previous one);
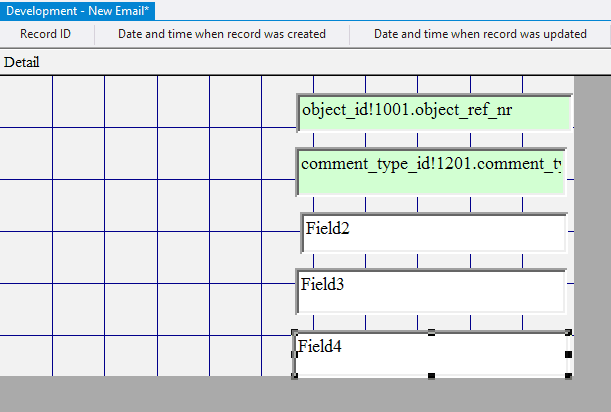
10.2.1.29. In the Control Source field for each added field enter comment_to, comment_cc, comment_bcc, respectively;


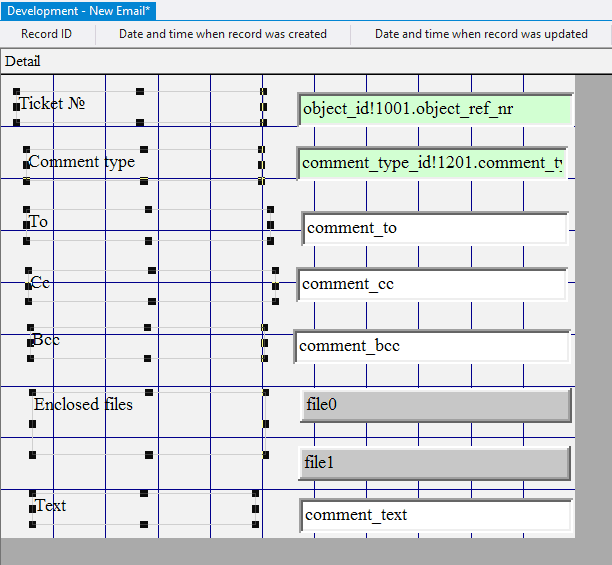
10.2.1.30. Left-click on the Label button on the toolbar;

10.2.1.31. Move the mouse pointer to the data area;
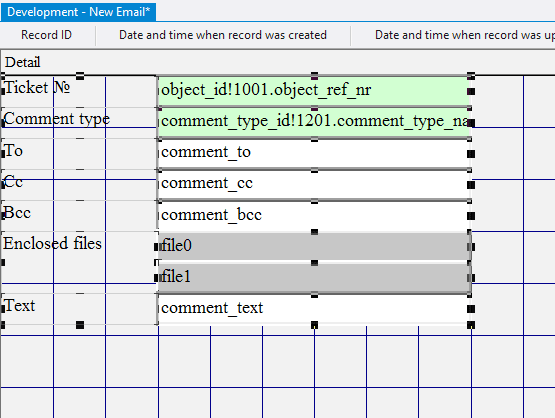
10.2.1.32. Press the left mouse button and, without releasing it, outline the size of label so that the label is left to the top field;
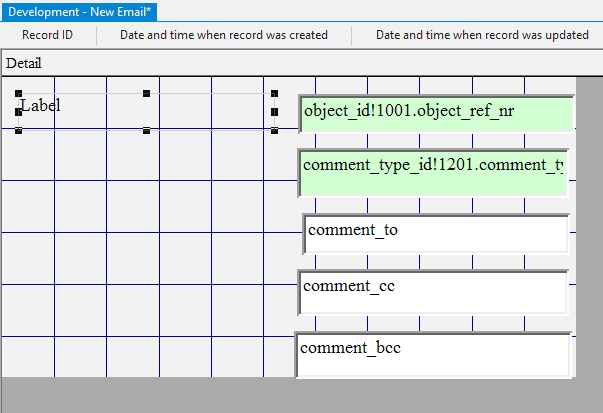
10.2.1.33. In the Caption field enter the Ticket №;
10.2.1.34. Similarly, add four more labels (one to the left of each field);

10.2.1.35. In the Caption field of each of the labels enter Comment type, To, Cc, Bcc;

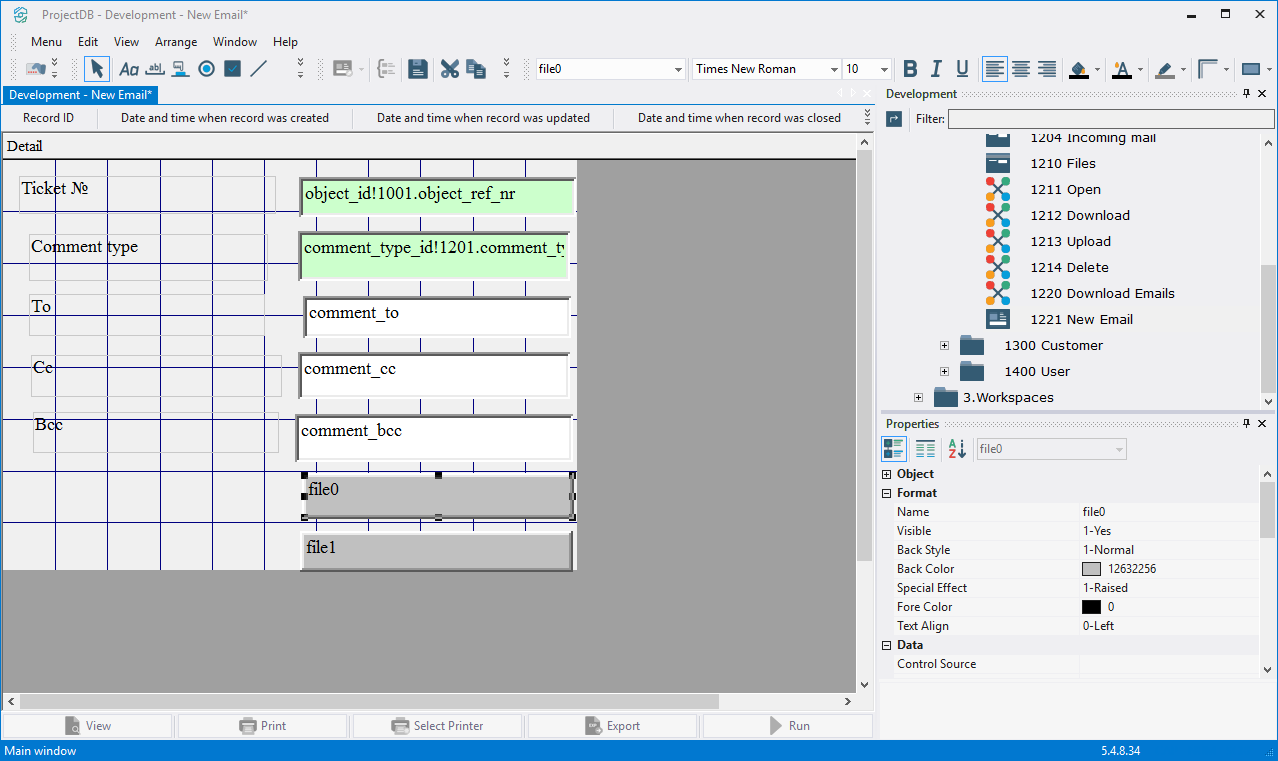
10.2.1.36. Similarly add two elements of the file type;
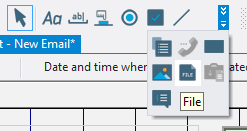
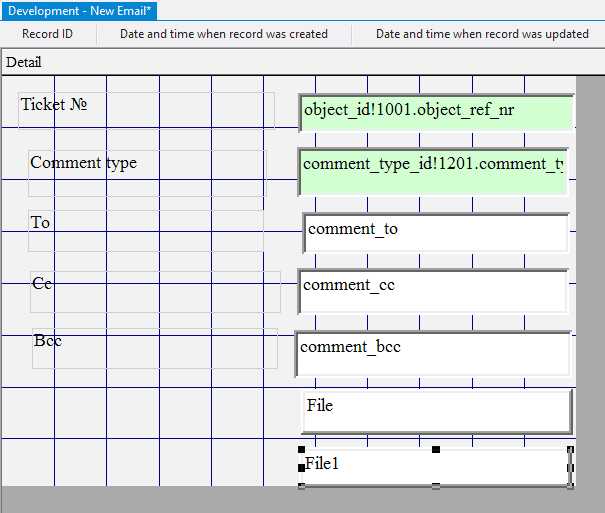
10.2.1.37. In the Back Color field for each of the added elements of the file type, specify the color;


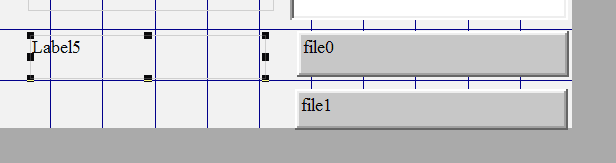
10.2.1.38. In the Name field for each of the added items of the file type, type file0 and file1;
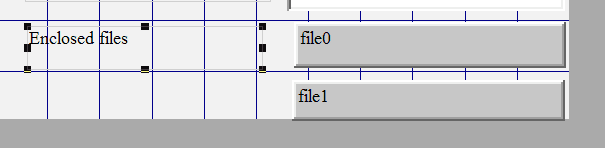
10.2.1.39. Add a label to the left of the file element;
10.2.1.40. In the Caption field, enter Enclosed files;
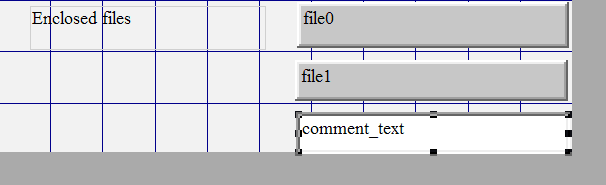
10.2.1.41. Add one more field below;
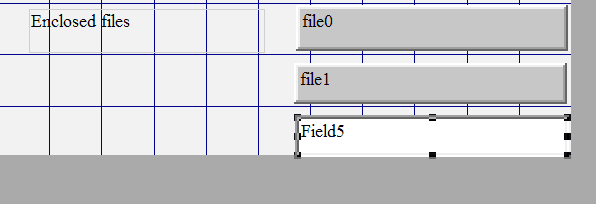
10.2.1.42. In the Control Source field enter comment_text;
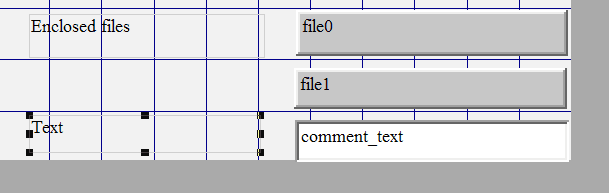
10.2.1.43. Add a Label to the left of the last field added;
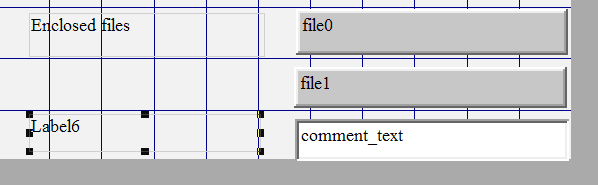
10.2.1.44. In the Caption field, enter Text;
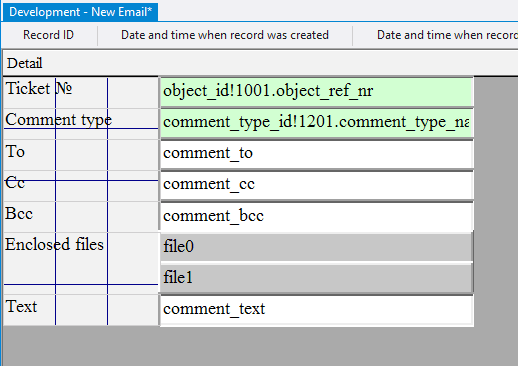
10.2.1.45. Select Edit > Select All;
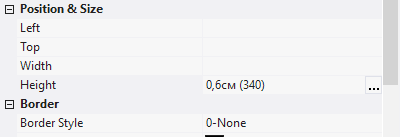
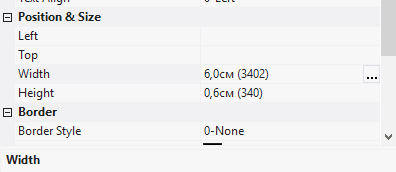
10.2.1.46. In the Height field specify the height of the elements - 0,6; press the Enter key;
10.2.1.47. Select label Enclosed files by clicking the left mouse button and, without releasing it, outlining the area on the screen with the mouse pointer;
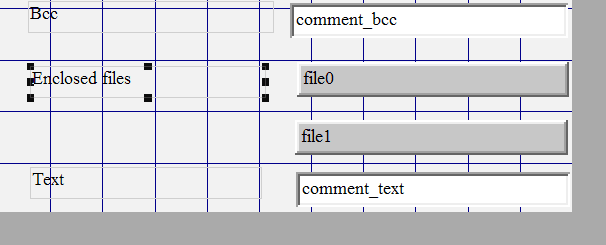
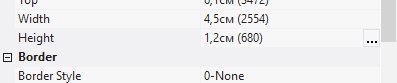
10.2.1.48. In the Height field specify the height of the elements - 1,2; press the Enter key;
10.2.1.49. Select all the labels by clicking the left mouse button and, without releasing it, outlining the area on the screen with the mouse pointer;
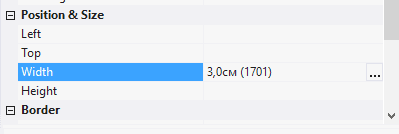
10.2.1.50. In the Width field specify the width of the labels - 3; press the Enter key;
10.2.1.51. Select all fields;

10.2.1.52. In the Width field specify the width of the fields - 6; press the Enter key;
10.2.1.53. Select Edit > Select All;
10.2.1.54. Select Arrange > Align > Top;
10.2.1.55. Select Arrange > Align > Left;
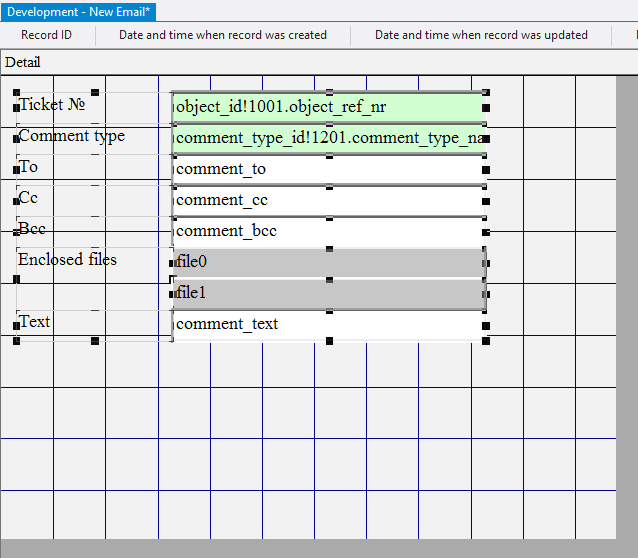
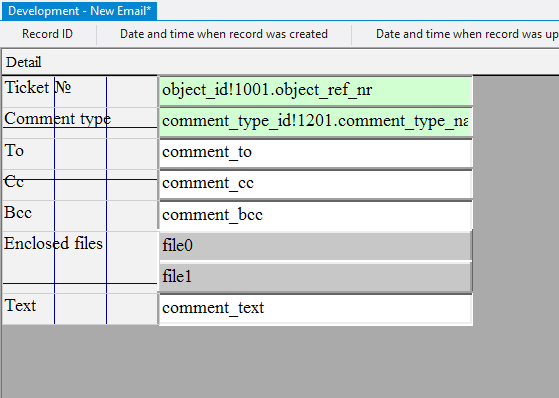
10.2.1.56. Move the mouse pointer over the elements, press the left mouse button and, without releasing it, move all the elements in the upper left corner;
10.2.1.57. Move the mouse pointer to the lower right corner of the data area, press the left mouse button and, without releasing it, reduce the size of the data area to a minimum;
10.2.1.58. Select the field comment_text - this field will occupy the remaining free space when working in the form and store multi-line text, so you should allow the text to scroll vertically by setting the Scroll Bars field to 2-Vertical;
10.2.1.59. Left-click outside the data area;
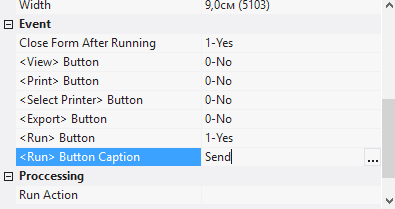
10.2.1.60. In the Close Form After Running field, set the value to 1-Yes;
10.2.1.61. In the <View> Button field, set the value to 0-No;
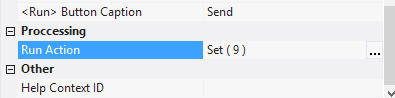
10.2.1.62. In the <Run> Button field, set the value to 1-Yes;
10.2.1.63. In the <Run> Button Caption, enter Send;
10.2.1.64. In the <Run> Action field, click the Advanced button;
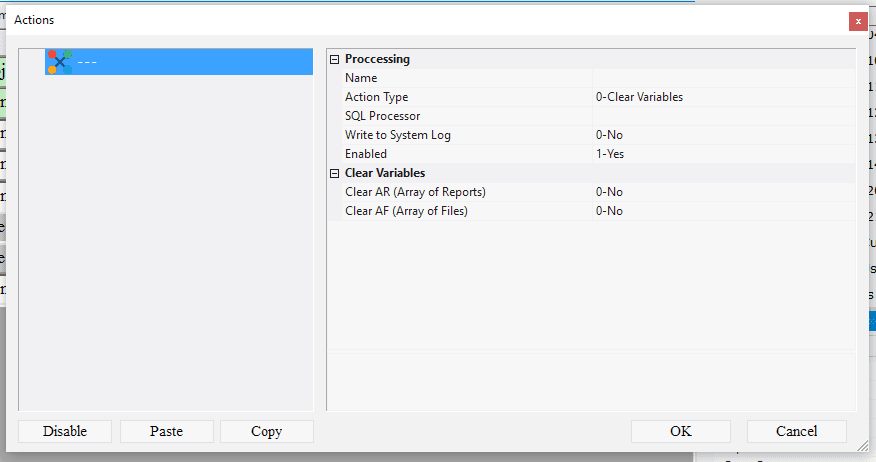
10.2.1.65. In the appeared window call the context menu;
10.2.1.66. Select Add Action;
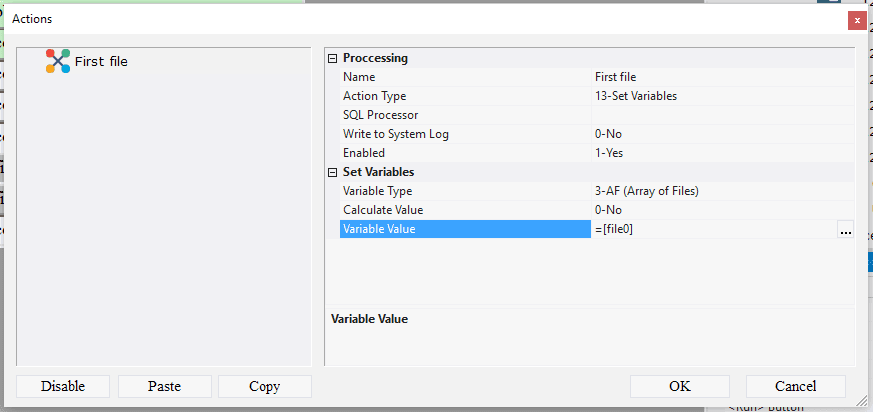
10.2.1.67. In the Name field enter the First file;
10.2.1.68. In the Action Type field, select 13-Set variables;
10.2.1.69. In the Variable Type field, select 3-AF (Array of Files);
10.2.1.70. In the Variable Value field, enter =[file0] - to initialize the first attached file;
10.2.1.71. Call the context menu;
10.2.1.72. Select Add Action;
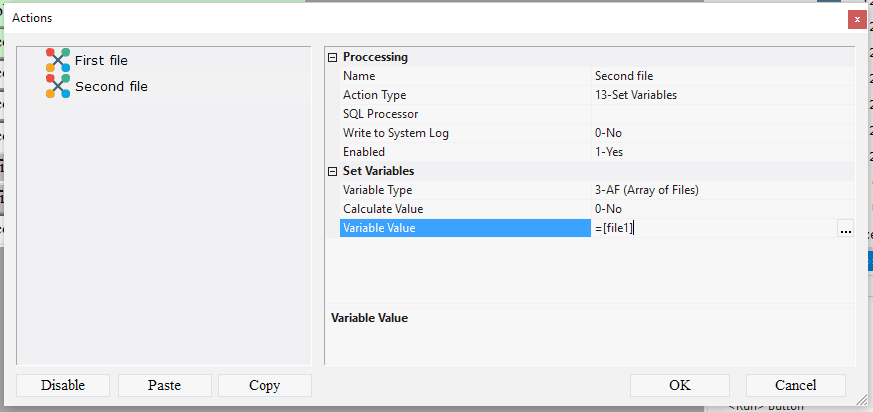
10.2.1.73. In the Name field enter Second file;
10.2.1.74. In the Action Type field, select 13-Set variables;
10.2.1.75. In the Variable Type field, select 3-AF (Array of Files);
10.2.1.76. In the Variable Value field, enter =[file1] - to initialize the second attached file;
10.2.1.77. Call the context menu;
10.2.1.78. Select Add Action;
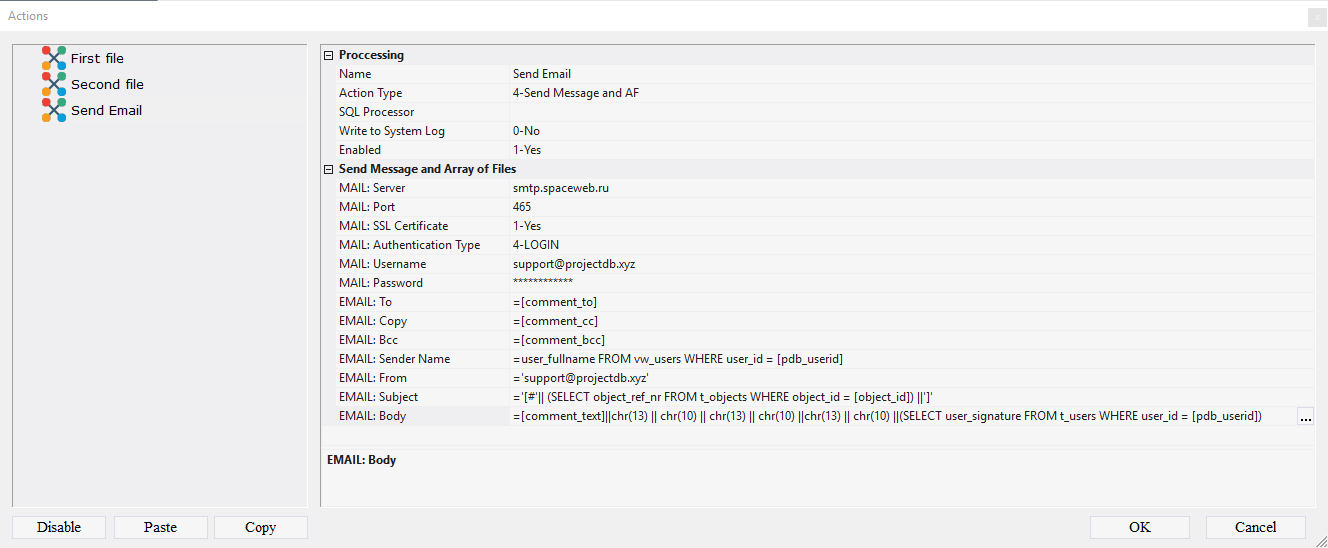
10.2.1.79. In the Name field enter Send Email;
10.2.1.80. In the Action Type field select 4-Send message and AF;
10.2.1.81. In the MAIL: Server field specify the server name (smtp.gmail.com for Gmail);
10.2.1.82. In the MAIL: Port field specify the port (465 for Gmail);
10.2.1.83. In the MAIL: SSL certificate field specify the use of the certificate (1-yes for Gmail);
10.2.1.84. In the MAIL: Authentication Type field specify the authentication type (4-LOGIN for Gmail);
10.2.1.85. In the MAIL: Username field enter username (in this example, projectdb.test);
10.2.1.86. In the MAIL: Password field enter password;
10.2.1.87. In the EMAIL: To field enter =[comment_to];
10.2.1.88. In the EMAIL: Copy field enter =[comment_cc];
10.2.1.89. In the EMAIL: Bcc field enter =[comment_bcc];
10.2.1.90. In the EMAIL: Sender Name field enter =user_fullname FROM vw_users WHERE user_id = [pdb_userid];
10.2.1.91. In the EMAIL: From field enter the sender's address ='projectdb.test@gmail.com ';
10.2.1.92. In the EMAIL: Subject field enter ='[#' || (SELECT object_ref_nr FROM t_objects WHERE object_id = [object_id]) || ']';
10.2.1.93. In the EMAIL: Body field enter =[comment_text] || chr (13) || chr (10) || chr (13) || chr (10) || chr (13) || chr (10) || (SELECT user_signature FROM t_users WHERE user_id = [pdb_userid]);
10.2.1.94. Call the context menu;
10.2.1.95. Select Add Action;
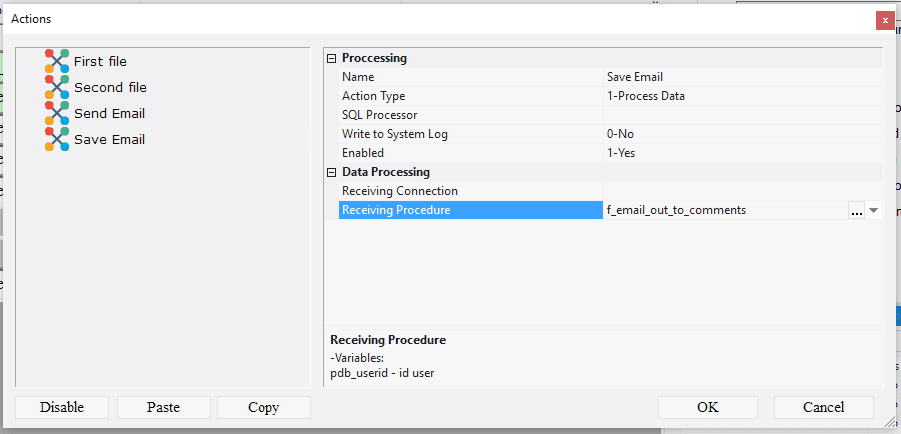
10.2.1.96. In the Name field enter Save Email;
10.2.1.97. In the Action Type field select 1-Process Data;
10.2.1.98. In the Receiving Procedure field select f_email_out_to_comments;
10.2.1.99. Call the context menu;
10.2.1.100. Select Add Action;
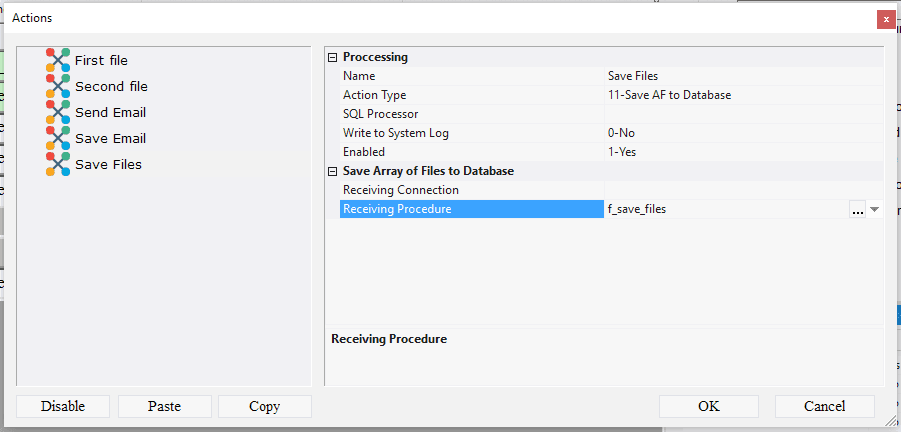
10.2.1.101. In the Name field enter Save Files;
10.2.1.102. In the Action Type field select 11-Save AF to Database;
10.2.1.103. In the Receiving Procedure field select f_save_files;
10.2.1.104. Call the context menu;
10.2.1.105. Select Add Action;
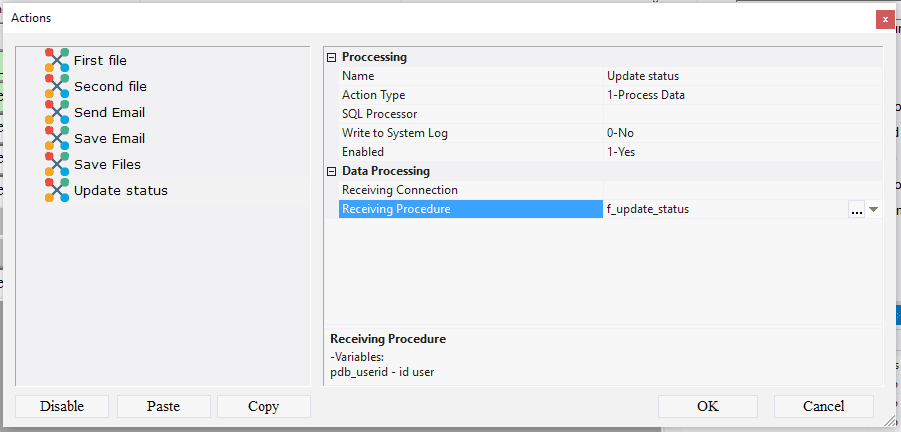
10.2.1.106. In the Name field enter Update status;
10.2.1.107. In the Action Type field select 1-Process Data;
10.2.1.108. In the Receiving Procedure field select f_update_status;
10.2.1.109. Call the context menu;
10.2.1.110. Select Add Action;
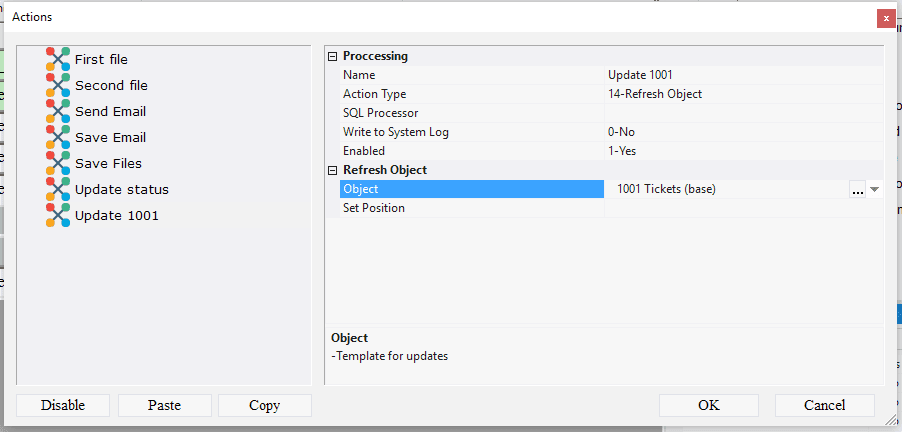
10.2.1.111. In the Name field enter Update 1001;
10.2.1.112. In the Action Type field select 14-Refresh Object;
10.2.1.113. In the Object field select 1001 Tickets (base);
10.2.1.114. Call the context menu;
10.2.1.115. Select Add Action;
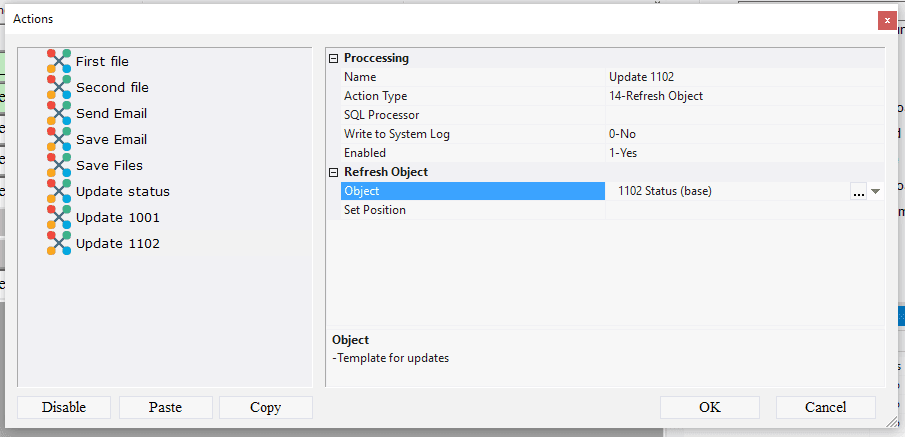
10.2.1.116. In the Name field enter Refresh 1102;
10.2.1.117. In the Action Type field select 14-Refresh Object;
10.2.1.118. In the Object field select 1102 Status (base);
10.2.1.119. Call the context menu;
10.2.1.120. Select Add Action;
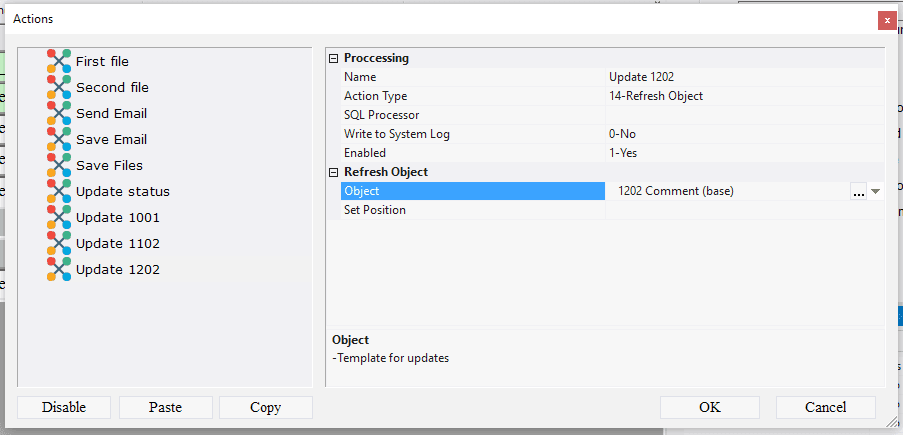
10.2.1.121. In the Name field enter Update 1202;
10.2.1.122. In the Action Type field select 14-Refresh Object;
10.2.1.123. In the Object field select 1202 Comment (base);
10.2.1.124. Click OK;
Note: If you followed the steps 10.2.1.11 - 10.2.1.124, skip steps 10.2.1.125 - 10.2.1.134 and go to step 10.2.1.135.
10.2.1.125. Download the file archive containing the settings of objects;
10.2.1.126. Extract the files from the downloaded archive;
10.2.1.127. Open the context menu by right-clicking in the data area;
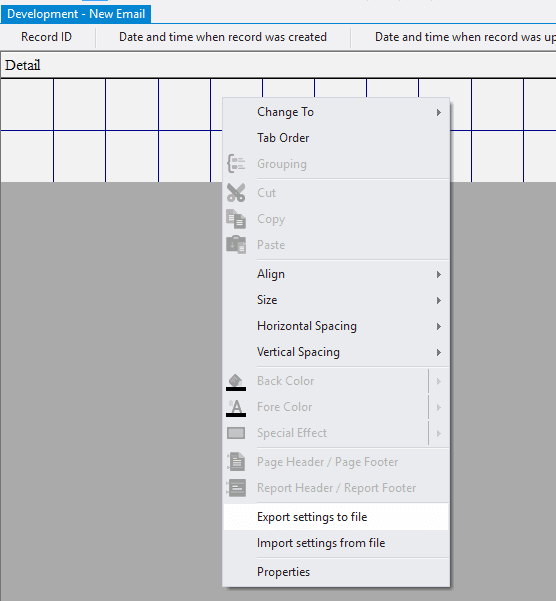
10.2.1.128. Select the menu item Import settings from file;
10.2.1.129. In the appeared window, specify the path to the file 1221_Form;
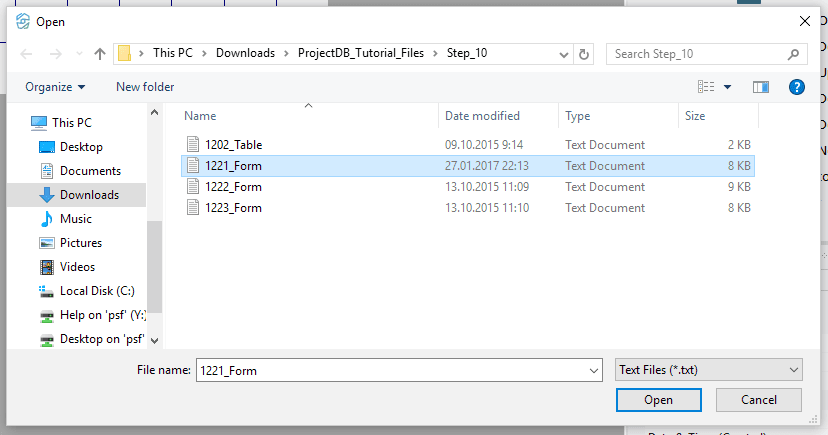
10.2.1.130. Click the Open button;
All settings of the form will be imported.
Note: after importing the action settings, it is necessary to specify the settings of the mail account:
10.2.1.131. Click the Advanced button in the Action field;
10.2.1.132. Select the action Send Email;
10.2.1.133. Specify the settings for the mail account in the fields MAIL: Server, MAIL: Port, MAIL: SSL certificate, MAIL: Authentication type, MAIL: Username, MAIL: Password;
10.2.1.134. Click OK;
10.2.1.135. Select Menu > Save.
10.2.1.136. Close the object by clicking on the corresponding button.
10.2.2. Next