3.5. Ajout de Données
3.5.1. Adding Data
To add information about users:
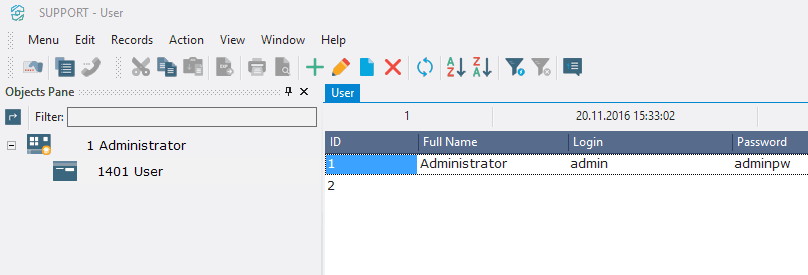
3.5.1.1. Open table 1401 Users by double-clicking the left mouse button on the object or by pressing the Enter key;
3.5.1.2. Open the context menu by right-clicking in the grid;
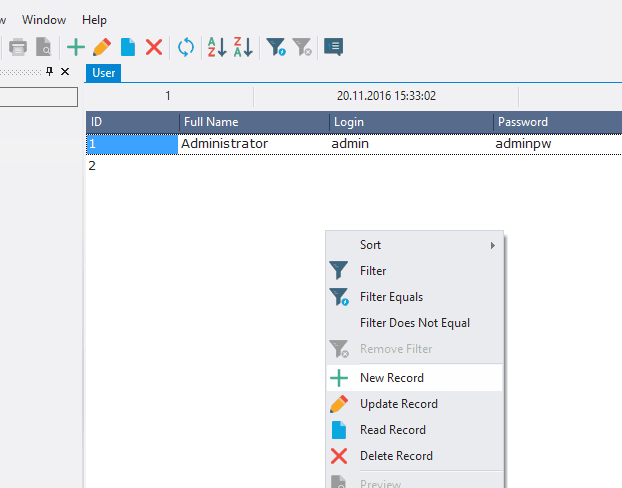
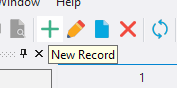
3.5.1.3. Select New Record, or click the appropriate button in the toolbar;
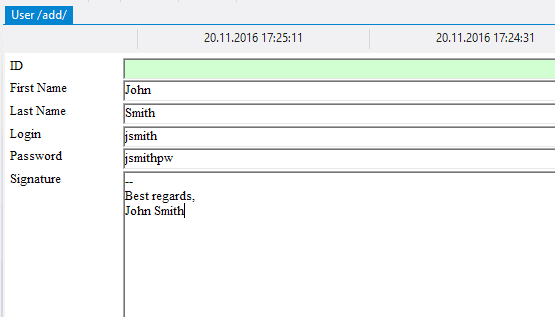
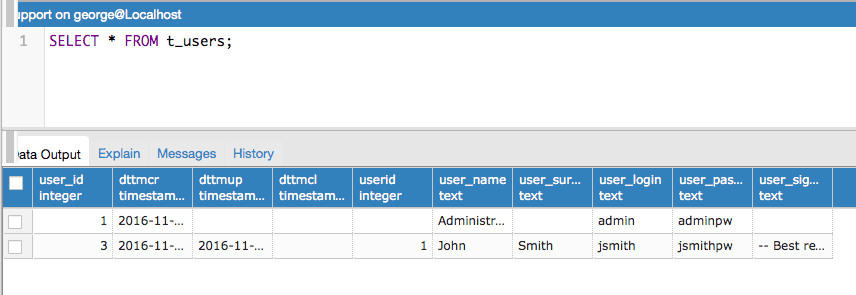
3.5.1.4. In the fields First Name, Last Name, Login, Password and Signature type in accordingly
John,
Smith,
jsmith,
jsmithpw
--
Best regards,
John Smith
3.5.1.5. Click Save or press the key combination Control + Enter.

Note: when adding a row ProjectDB recorded ID of the user, who added a row, date and time of creating a row (and changing a row) in the fields userid, dttmcr, dttmup of the table t_users, as these fields were specified in the system fields User ID, Date & Time (Created), Date & Time (Updated) of the object 1401 Users.
When working in the workspace you might see the information from these system data fields, including record ID and object code. The top panel displays this information in the following order from left to right: record ID, date and time the selected record was created, date and time the selected row was updated, the user who added the record, the compound table code and the table code.
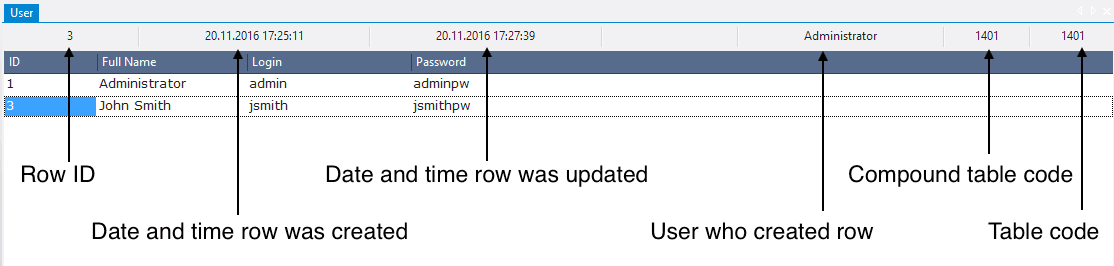
At the bottom of the object it is possible to see the total number of displayed records and the number of selected record.

Regardless of the current object, at the bottom of the application window the prompt is displayed, current logged in user, program version.

After adding a user must be connected to the workspace, otherwise the user can connect to the system, but the list of objects will be empty.
3.5.2. Connecting the Added User to the Workspace
To connect the user to the workspace:
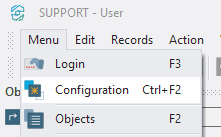
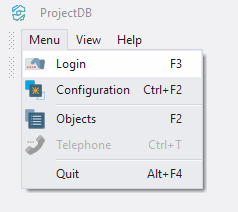
3.5.2.1. Select Menu > Configuration;
3.5.2.2. In the appeared window click Yes;

3.5.2.3. In the field Password type in 1111;
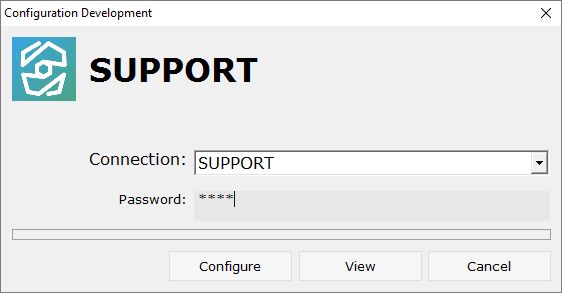
3.5.2.4. Click Configure;
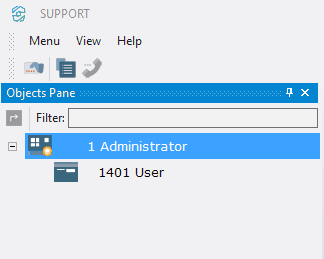
3.5.2.5. Open the folder 3.Workspaces;
3.5.2.6. Open the workspace 1 Administrator;
3.5.2.7. Open the context menu of a folder 1.Users;
3.5.2.8. Select the menu item Add User;
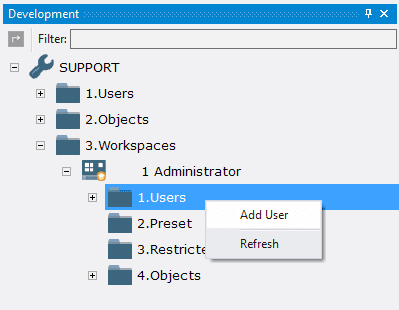
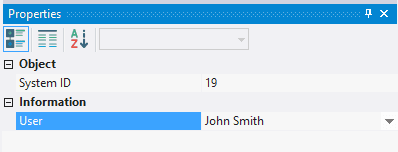
3.5.2.9. In the field User select a user John Smith.
3.5.3. Login as a New User
Now it's possible to log in to the system as a new user.
To do this:
3.5.3.1. Select Menu > Login;
3.5.3.2. In the appeared window click Yes;
3.5.3.3. In the field Username type in jsmith;
3.5.3.4. In the field Password, type in jsmithpw;
3.5.3.5. Select Save password;
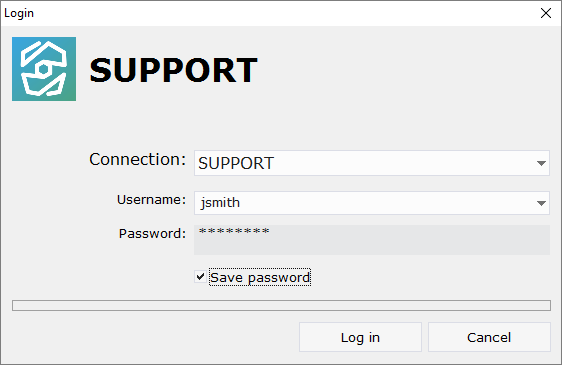
3.5.3.6. Click Login.
The list of available objects appears on the left.
3.5.4. Result
•workspace 1 Administrator is created;
•object 1401 Users and user Administrator are connected to this workspace;
•user John Smith is added through the object 1401 Users;
•specified user is also connected to the workspace 1 Administrator.
3.5.5. Next