9.3. Création de l'Action 1220 Télécharger le Courriel
9.3.1. Creating Action 1220 Download emails
The next step is to create an action that will download incoming emails from the inbox to the database. To create such an action:
9.3.1.1. Call the context menu of the folder 1200 Comments;
9.3.1.2. Select New Object > Action;
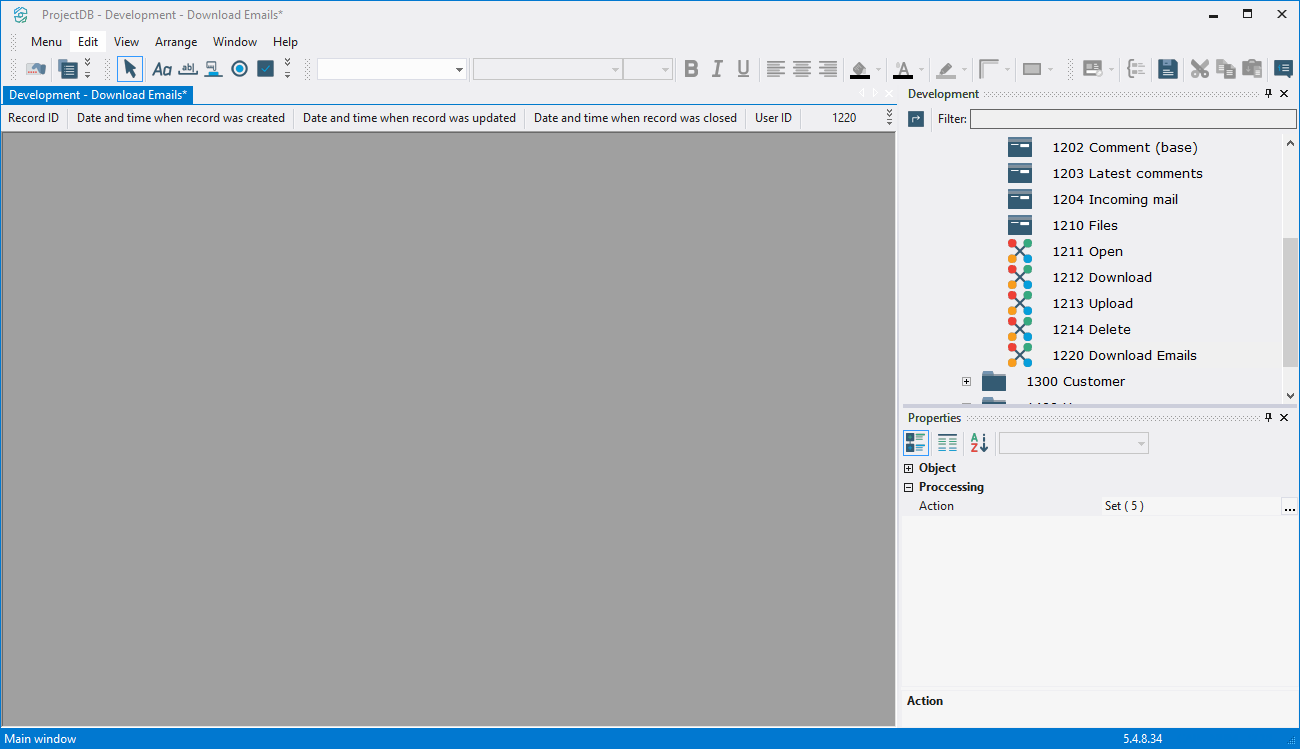
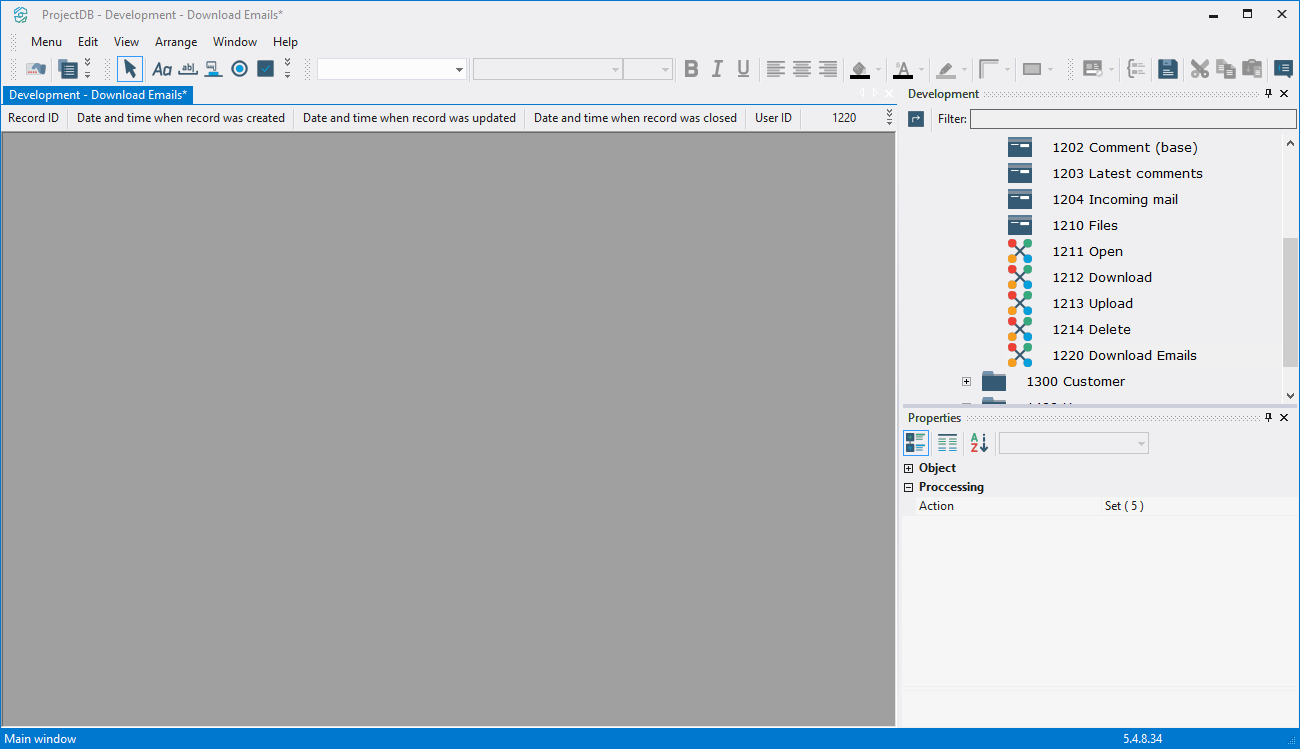
9.3.1.3. In the Properties window, enter 1220 in the Object Code field, enter Download Emails in the field Object Name;
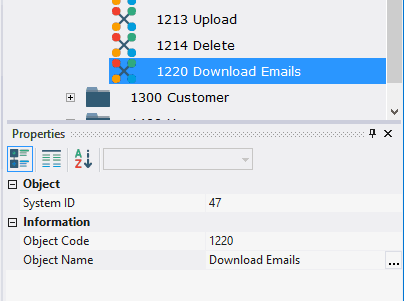
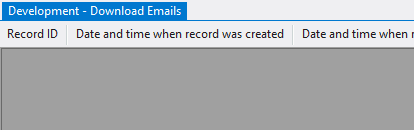
9.3.1.4. Open object 1220 Download Emails for modification by double-clicking the left mouse button;
Note: if you want to study action design process in detail, follow the steps 9.3.1.5 - 9.3.1.40. If you already know how to do this, skip the steps 9.3.1.5 - 9.3.1.40 and go to the step 9.3.1.41.
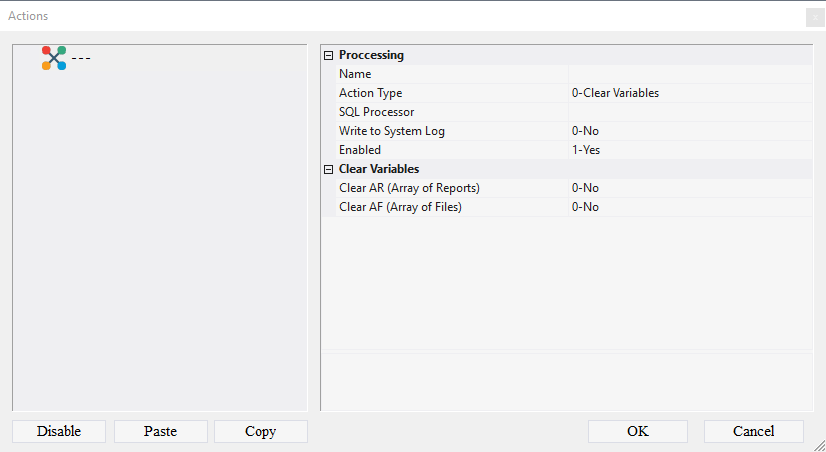
9.3.1.5. In the Action field click the Advanced button;
9.3.1.6. In the appeared window call the context menu;
9.3.1.7. Select the item Add Action;
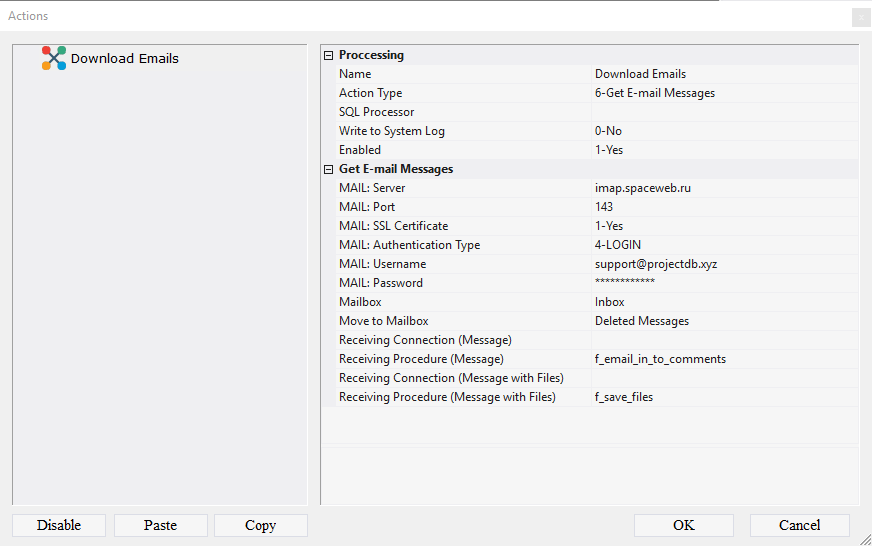
9.3.1.8. In the Name field enter Download Emails;
9.3.1.9. In the Action Type field select from the drop-down list 6-Get E-mail Messages;
9.3.1.10. In the MAIL: Server field, specify the server name (imap.gmail.com for Gmail);
9.3.1.11. In the MAIL: Port field, specify the port (993 for Gmail);
9.3.1.12. In the MAIL: SSL Certificate field specify the use of the certificate (1-Yes for Gmail);
9.3.1.13. In the MAIL: Authentication Type field, specify the authentication type (4-LOGIN for Gmail);
9.3.1.14. In the MAIL: Username field, specify the login;
9.3.1.15. In the MAIL: Password field, enter the password;
9.3.1.16. In the Mailbox field, specify the mailbox for downloading (inbox for incoming messages in Gmail by default);
9.3.1.17. In the Move to Mailbox, specify the mailbox to which the messages will be moved after downloading (e.g. [Gmail]/Trash);
9.3.1.18. In the Receiving Procedure (Message) field, select the function f_email_in_to_comments;
9.3.1.19. In the Receiving Procedure (Message with Files) field, select the function f_save_files;
9.3.1.20. Call the context menu;
9.3.1.21. Select Add Action;
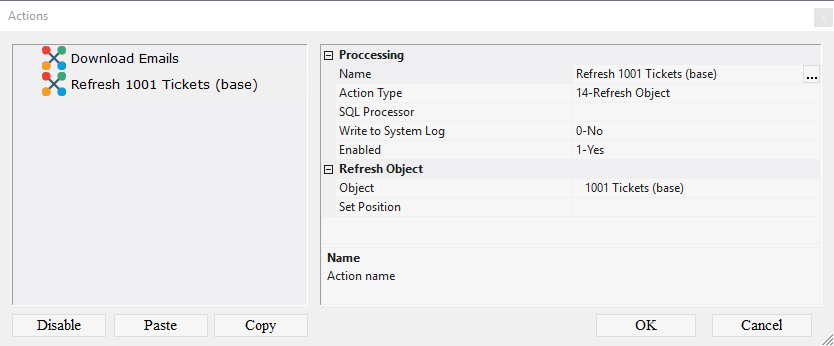
9.3.1.22. In the Name field enter Refresh 1001 Tickets (base);
9.3.1.23. In the Action Type field select 14-Refresh Object;
9.3.1.24. In the Object field, select the object 1001 Tickets (base);
9.3.1.25. Call the context menu;
9.3.1.26. Select Add Action;
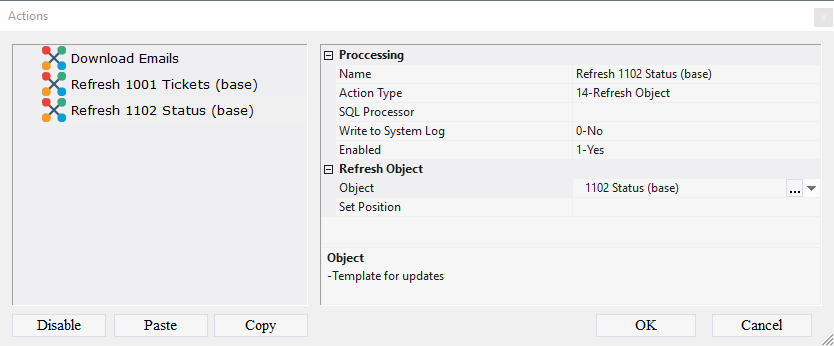
9.3.1.27. In the Name field enter Refresh 1102 Status (base);
9.3.1.28. In the Action Type field select 14-Refresh Object;
9.3.1.29. In the Object field, select the object 1102 Status (base);
9.3.1.30. Call the context menu;
9.3.1.31. Select Add Action;
9.3.1.32. In the Name field enter Refresh 1202 Comment (base);
9.3.1.33. In the Action Type field select 14-Refresh Object;
9.3.1.34. In the Object field, select the object 1202 Comment (base);

9.3.1.35. Call the context menu;
9.3.1.36. Select Add Action;
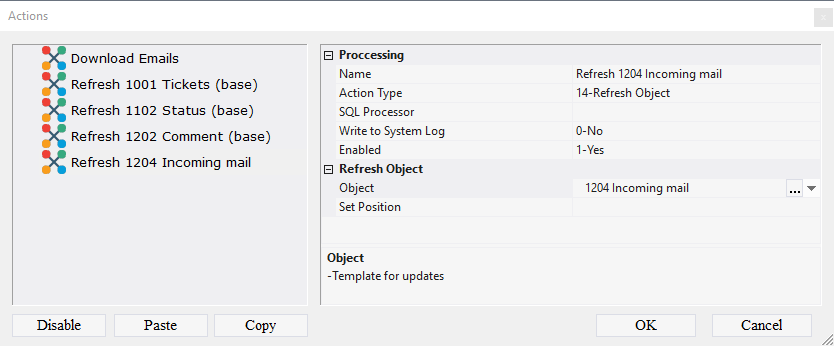
9.3.1.37. In the Name field enter Refresh 1204 Incoming mail;
9.3.1.38. In the Action Type field select 14-Refresh Object;
9.3.1.39. In the Object field, select the object 1204 Incoming mail;
9.3.1.40. Click OK;
Note: If you followed the steps 9.3.1.5 - 9.3.1.40, skip steps 9.3.1.41 - 9.3.1.49 and go to step 9.3.1.50.
9.3.1.41. Download the file archive containing the settings of objects;
9.3.1.42. Extract the files from the downloaded archive;
9.3.1.42. Open the context menu by right-clicking in the data area;
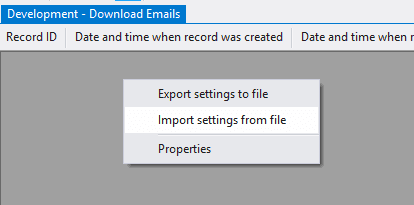
9.3.1.43. Select Import settings from the file;
9.3.1.44. In the appeared window specify the path to the file 1220_Action;
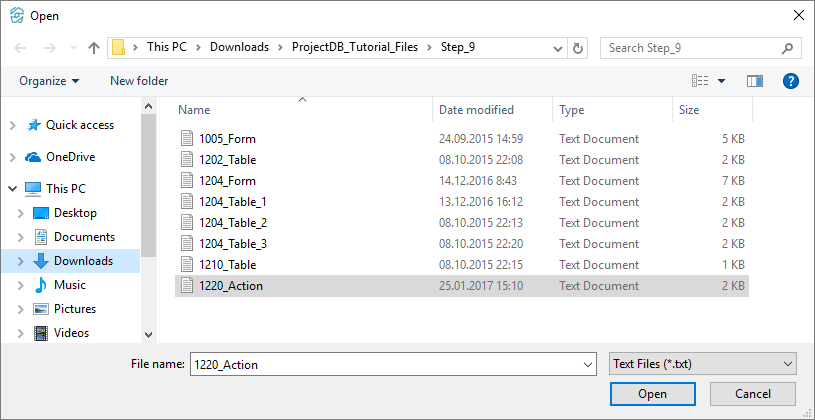
9.3.1.45. Click the Open button;
All action settings will be imported.
Note: after importing the action settings, it is necessary to specify the settings of the mail account:
9.3.1.46. Click the Advanced button in the Action field;
9.3.1.47. Select the action Download messages;
9.3.1.48. Specify the settings for the mail account in the fields MAIL: Server, MAIL: Port, MAIL: SSL certificate, MAIL: Authentication type, MAIL: Username, MAIL: Password, Mailbox, Move to box;
9.3.1.49. Click OK;
9.3.1.51. Close the object by clicking on the corresponding button.
9.3.2. Next